25 Halloween Mini Decor Ideas for a Magical Shelf Moment
Your shelf does not need a full haunted village to feel ready for Halloween. Sometimes, one tiny ghost or glowing pumpkin is enough to catch your eye.
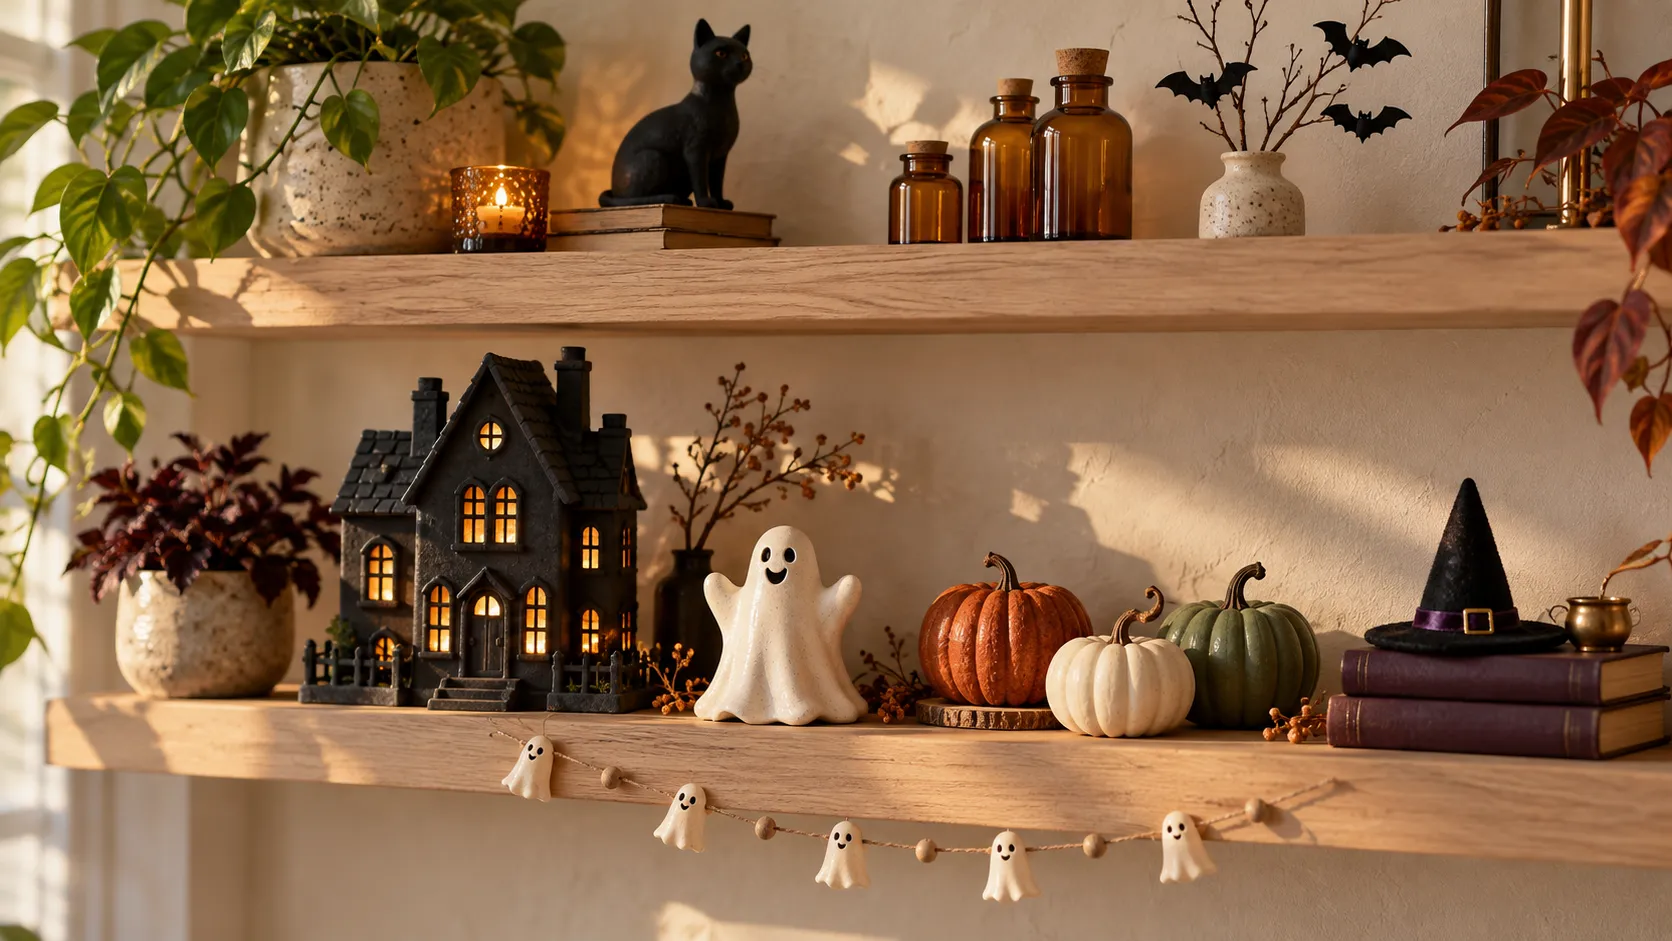
These 25 halloween mini decor ideas bring seasonal character to small spaces without crowding the things you already love. From miniature potion bottles to a little witch door, each arrangement offers a specific starting point with practical styling advice. You will find ways to balance heights, choose contrasting colors, and keep tiny details visible. Whether you are decorating a narrow bookcase or refreshing a floating shelf, start with a favorite piece and build a small scene that feels playful, personal, and easy to enjoy.
Mini Pumpkin Trio

A tiny pumpkin trio gives an empty shelf a clear focal point without filling every inch. Choose three pumpkins with different heights, keeping the largest around four inches tall for a shallow shelf. Repeat one color from your room so the seasonal display feels connected to its surroundings.
Place the tallest pumpkin slightly behind the other two, then tuck a single dried leaf beside the smallest. Leave a little visible shelf around the group instead of scattering extras across it. For an affordable halloween mini decor arrangement, painted thrifted pumpkins work just as well as matching store sets.
Tiny Ghost Bookends
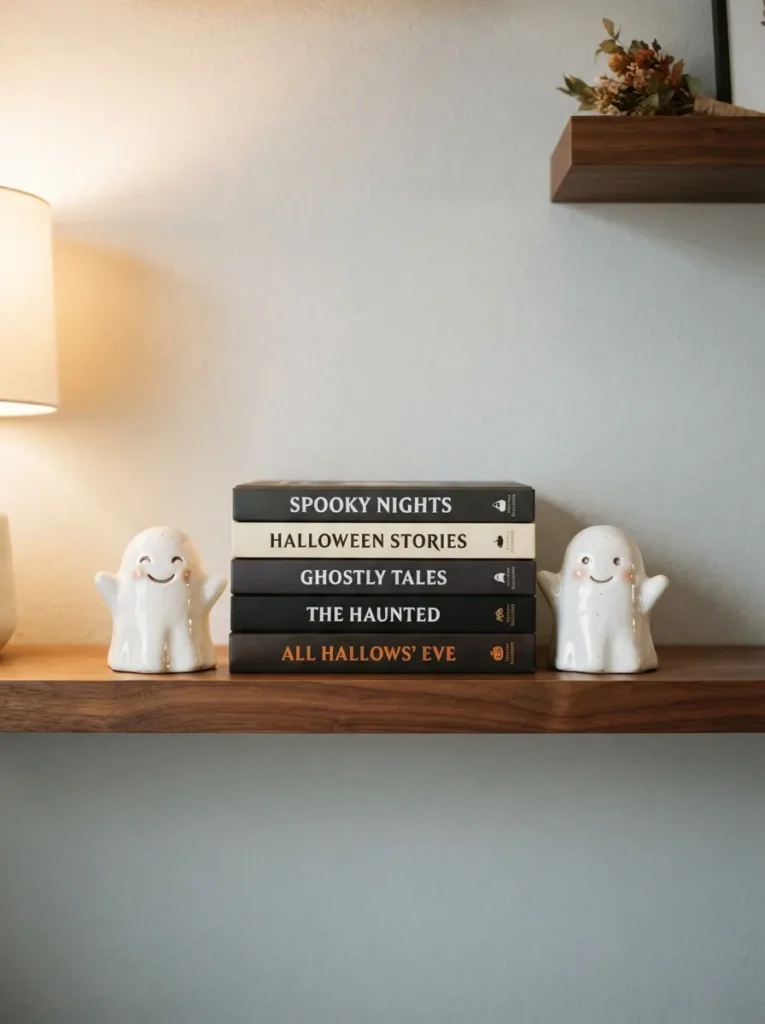
- Give your favorite books a spooky frame with two palm-sized ghost figures, one at each end of a short row.
- Choose ghosts with flat, broad bases. Lightweight figurines are decorative accents and should not be expected to support leaning books.
- Hide sturdy metal bookends behind the outer books, then position the ghosts in front to soften their practical appearance.
- Limit the row to three or four books with black, cream, or muted covers. Turn distracting dust jackets inward only if the books remain easy to identify.
Dark book spines help white ghosts stand out, especially against a pale wall where their outlines might otherwise disappear. Keep both figures slightly back from the shelf edge, with their faces visible from your usual seating spot. The finished grouping adds Halloween character while keeping everyday reading within reach.
Mini Witch Hat Stand

Quick Tip:
A little height makes a miniature witch hat easier to spot. Choose a wooden spool wider than the hat’s opening, then secure the brim with removable adhesive suitable for both materials. Test the assembled stand on a flat surface before placing it on your shelf.
Keep the hat around three inches tall so it stays in proportion with nearby miniature pieces. A narrow plum ribbon adds color without covering the pointed silhouette. Position the stand beside a low ceramic pumpkin for a clear height contrast, leaving enough room that the brim does not touch neighboring objects.
Also Explore : 22 Skull Shelf Sitter Ideas for a Wickedly Fun Display
Mini Haunted House
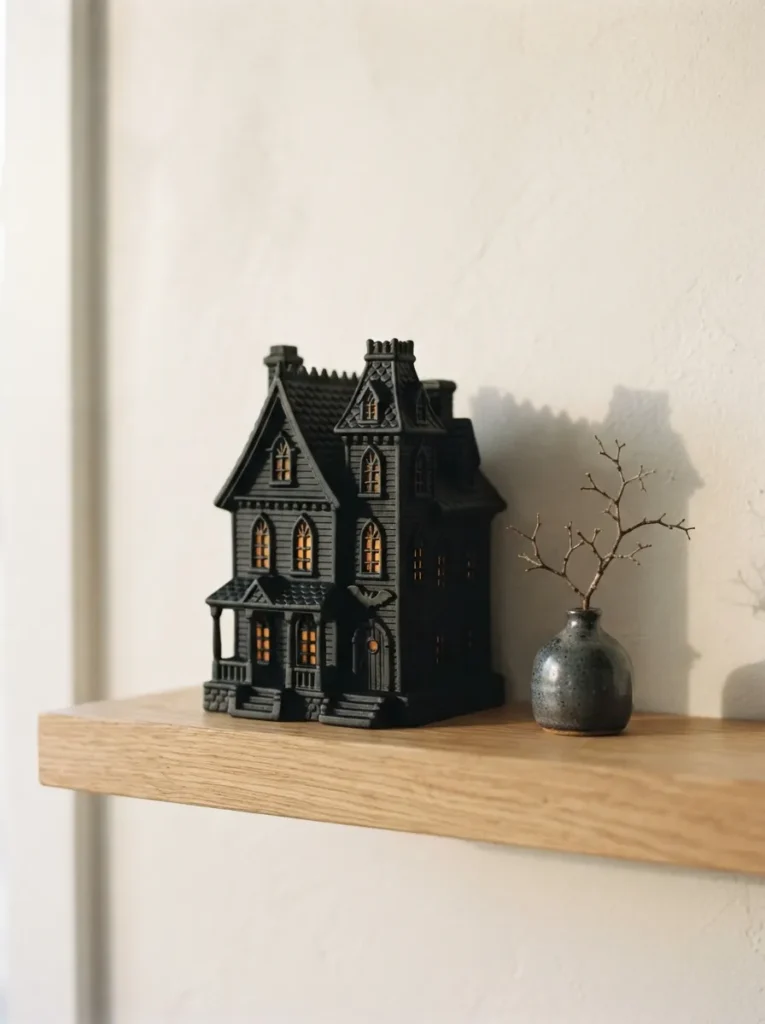
BEFORE: A deep shelf can swallow tiny decorations, making them hard to notice from across the room. Several equally short pieces may blend into a flat row.
AFTER: A miniature haunted house introduces a taller roofline and a recognizable silhouette. A battery-powered LED inside an open-backed model gives its windows a gentle amber glow.
Choose a house roughly five inches tall, then check that its base fits fully on the shelf. Keep the roof below the shelf above, with room to reach the light switch. Pair it with just one lower accent so the little building remains the focus after dark.
Potion Bottle Cluster
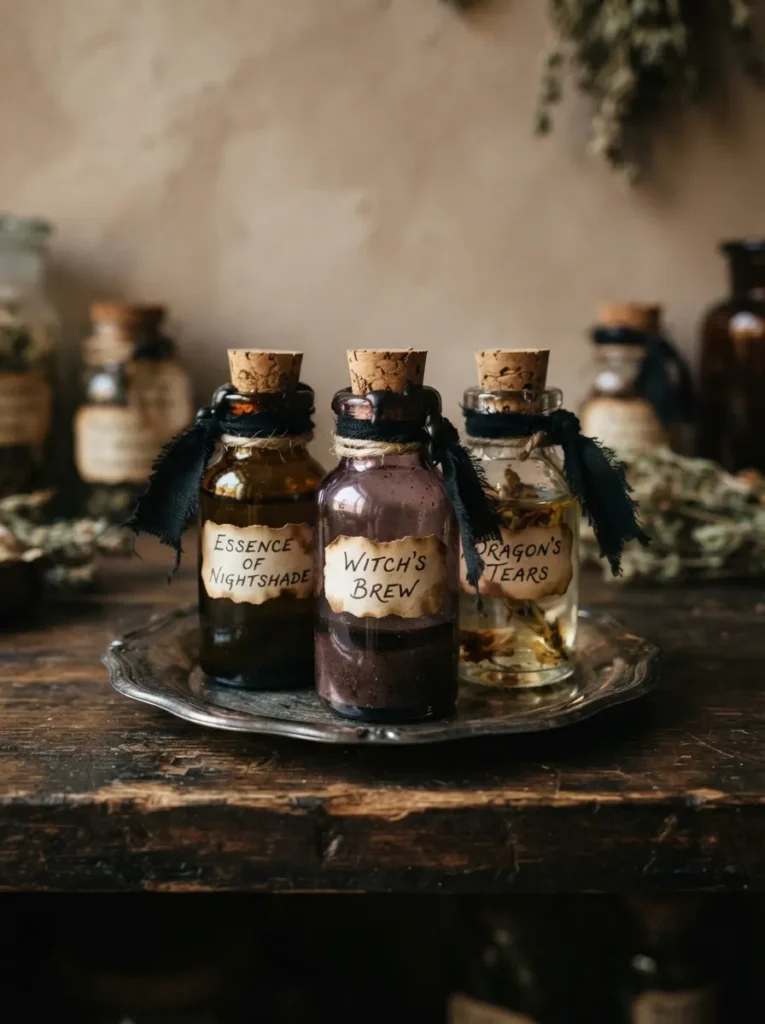
- Turn three tiny bottles into a shelf-sized potion collection by choosing different heights between two and four inches.
- Keep the bottles empty and use tinted glass for color. This avoids spills and makes the arrangement easier to move.
- Wrap one bottle neck with black cotton ribbon, then add small paper labels marked with simple moon or star symbols.
- Group the bottles on a shallow saucer, placing the tallest at the back and angling the labels toward the room.
A saucer gives these small pieces a defined footprint, which helps the cluster read as one display instead of scattered clutter. Amber glass suits warm wood, while smoky purple adds contrast beside cream ceramics. Keep glass bottles and loose corks away from shelf edges and out of children’s reach.
Mini Bat Branch
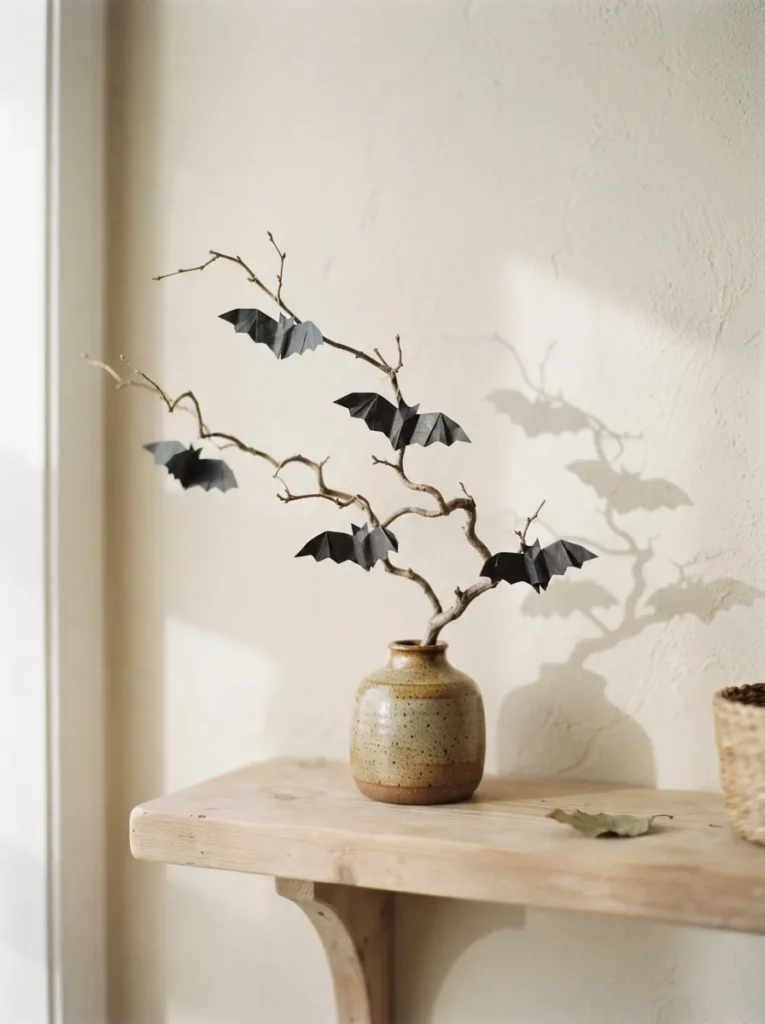
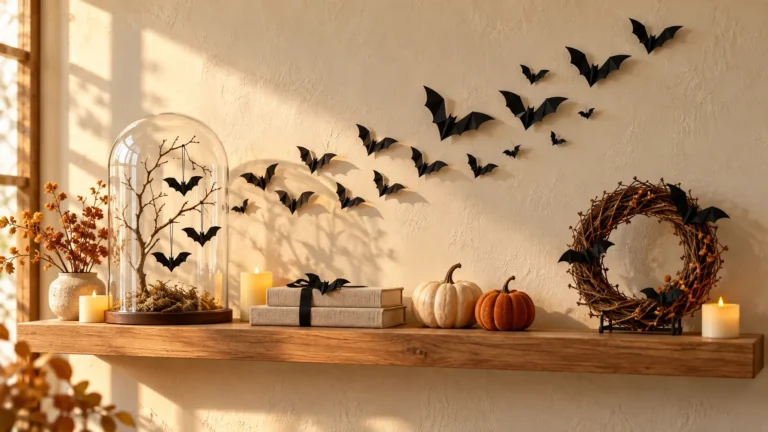
A few folded bats can give a bare shelf corner movement without taking up much surface space.
| Detail | Paper Bats | Felt Bats |
| Visual effect | Crisp outlines with folded wings | Soft shapes with visible texture |
| Attachment | Small dots of craft glue | Thread loops through the body |
| Branch choice | Thin twigs support lightweight paper | Sturdier twigs suit thicker felt |
| Storage | Store flat with wings gently unfolded | Lay flat to prevent curled edges |
Select a branch short enough to sit beneath the next shelf without bending. Anchor it in a broad, stable vase with reusable floral putty, then space the bats unevenly along two or three twigs. Leave gaps between their wings so each silhouette stays readable against a light wall.
Tiny Skull Pedestal
DO
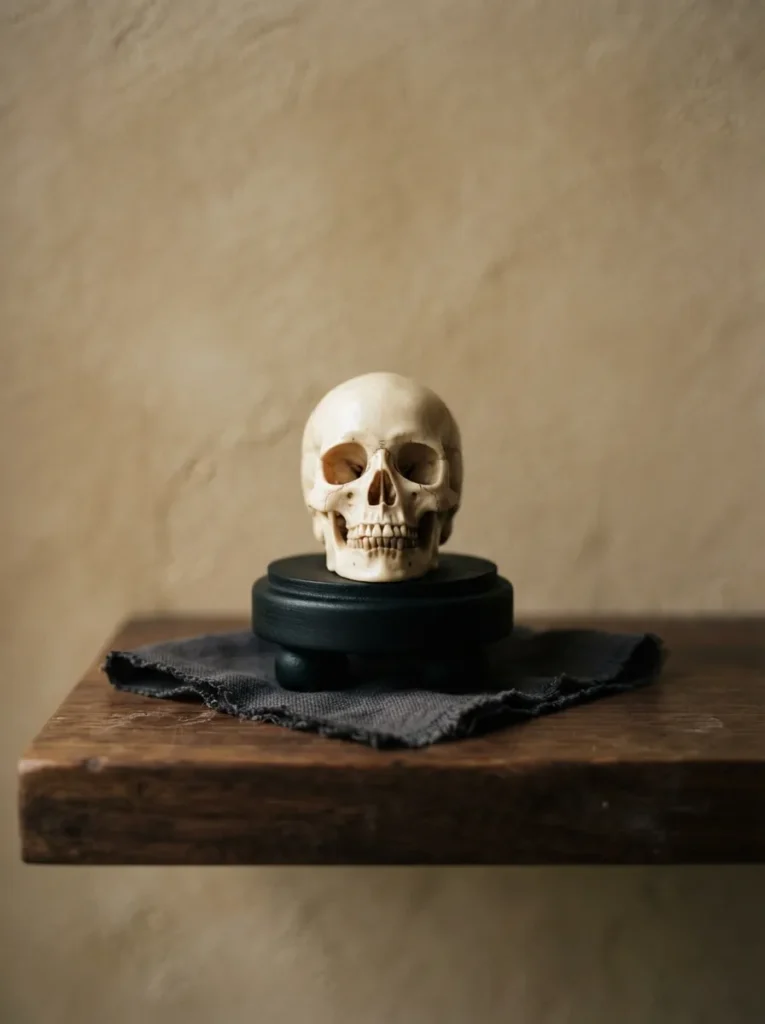
- Give a tiny skull a stronger silhouette by raising it on a pedestal slightly wider than its base.
- Choose an ivory or pale stone finish that contrasts with the dark stand.
- Position the skull so its face is visible from your usual viewing height.
- Check that the pedestal sits flat without rocking.
DON’T
- Balance the skull on a narrow candleholder with an uneven top.
- Cover the base with loose fabric that could make it unstable.
- Surround the skull with equally detailed pieces that compete for attention.
- Place a heavy ornament near the front edge.
A pedestal separates the skull from nearby objects, making its small details easier to notice. Keep the combined height below surrounding books or framed art for a layered arrangement. On a shallow shelf, skip the fabric entirely and let the contrast between ivory and black carry the display.
Mini Cauldron Display
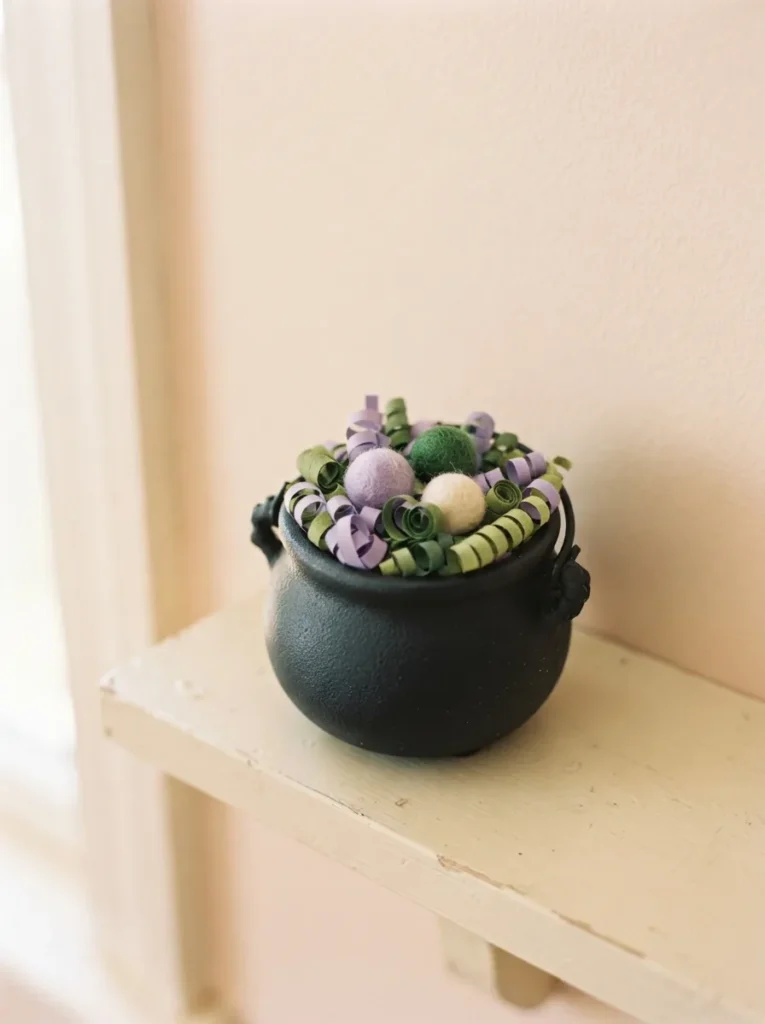
A palm-sized cauldron brings a playful potion detail to a narrow shelf.
Materials: Mini cauldron, paper strips, and three felt balls.
Time: About 10 minutes.
Skill Level: Beginner, with no painting required.
Best For: A small gap beside books or a framed print.
Fill most of the pot with loosely crumpled scrap paper, then cover it with curled colored strips. This keeps decorative materials near the rim, where they remain visible. Choose larger felt balls if small children could reach the display, or omit loose pieces and use only paper curls.
Coffin Shadow Box
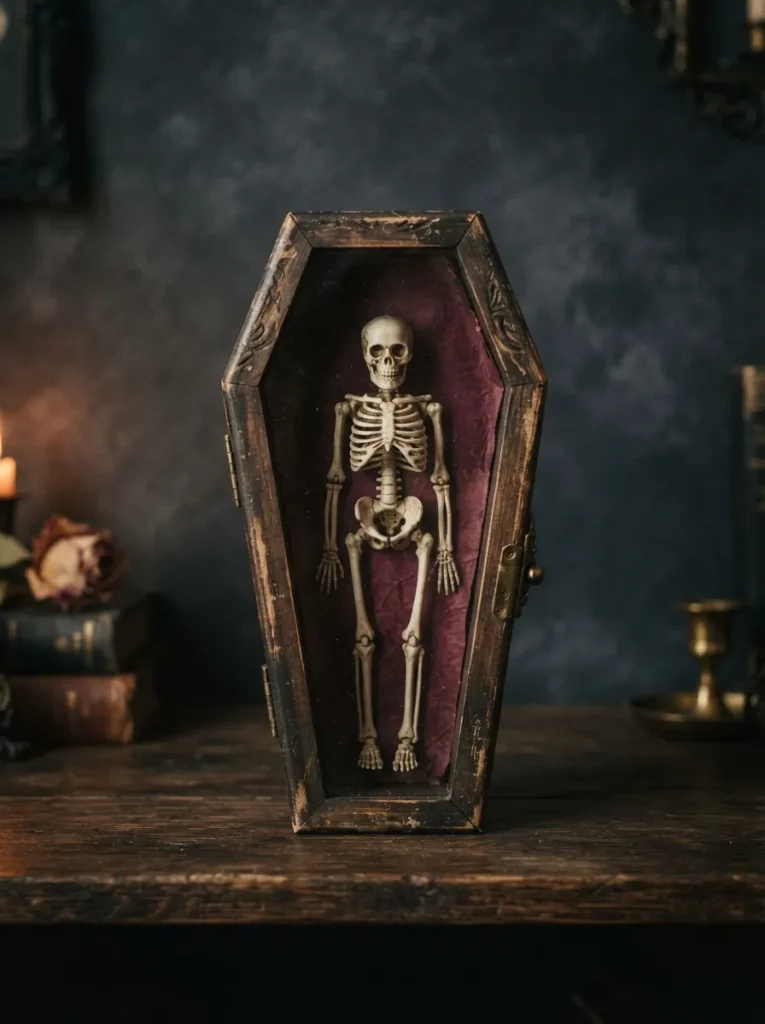
Small decorations gain definition inside a dark little frame. Choose a coffin-shaped shadow box around five inches tall, with enough depth to hold one lightweight ornament. Line the back with burgundy scrapbook paper before attaching an ivory skeleton charm, keeping its outline clearly visible against the richer color.
Stand the box upright only if it has a broad, stable base; otherwise, display it lying flat and angled toward the room. Avoid packing the interior with cobwebs, beads, and extra figures. One central detail keeps the tiny scene readable and makes dusting around it much less fiddly.
Mini Spell book Stack
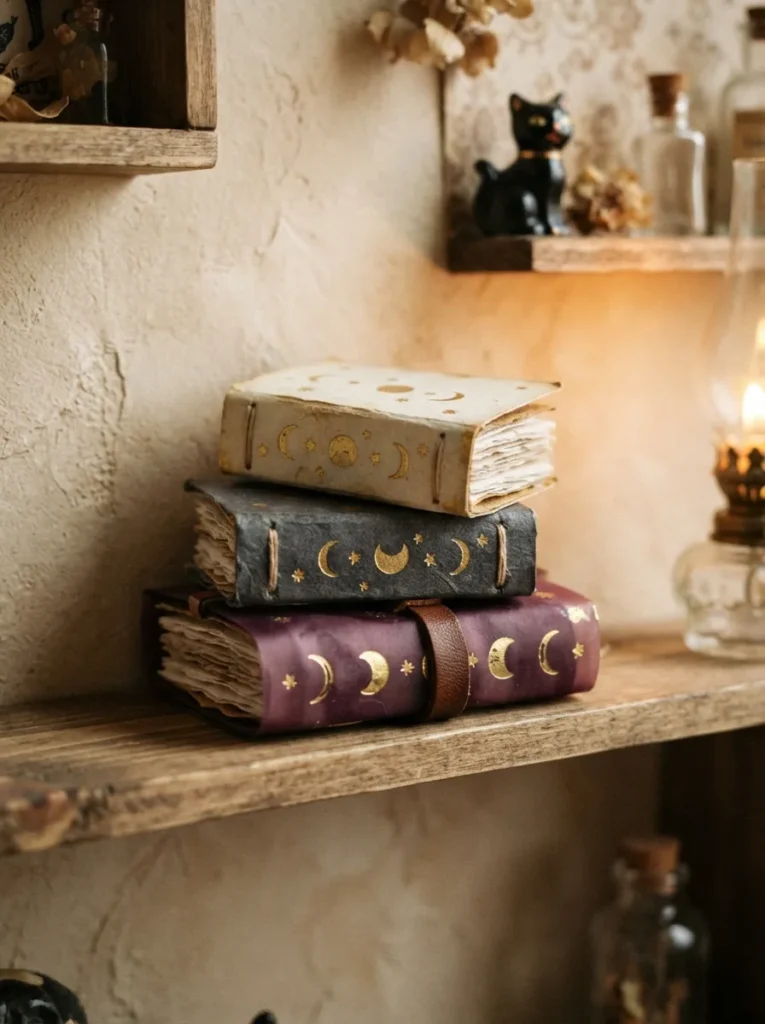
- Build a tiny spellbook stack from three folded paper bundles, each roughly two inches wide and slightly different in thickness.
- Wrap each bundle in cardstock, leaving a small margin around the pages to suggest a hard cover.
- Glue the folded edges inside the covers, then let the books dry flat before stacking.
- Draw a small gold moon or star on each spine, keeping the remaining cover plain.
- Stack the largest book underneath and rotate the top one slightly so the separate layers remain visible.
These little books add detail where a full-size book stack would overwhelm the shelf. Choose paper colors that repeat nearby decorations, such as plum beside a witch hat or cream beside a ghost. Keep the decorated spines facing outward so the handmade details remain visible from the room.
Mini Moon Backdrop
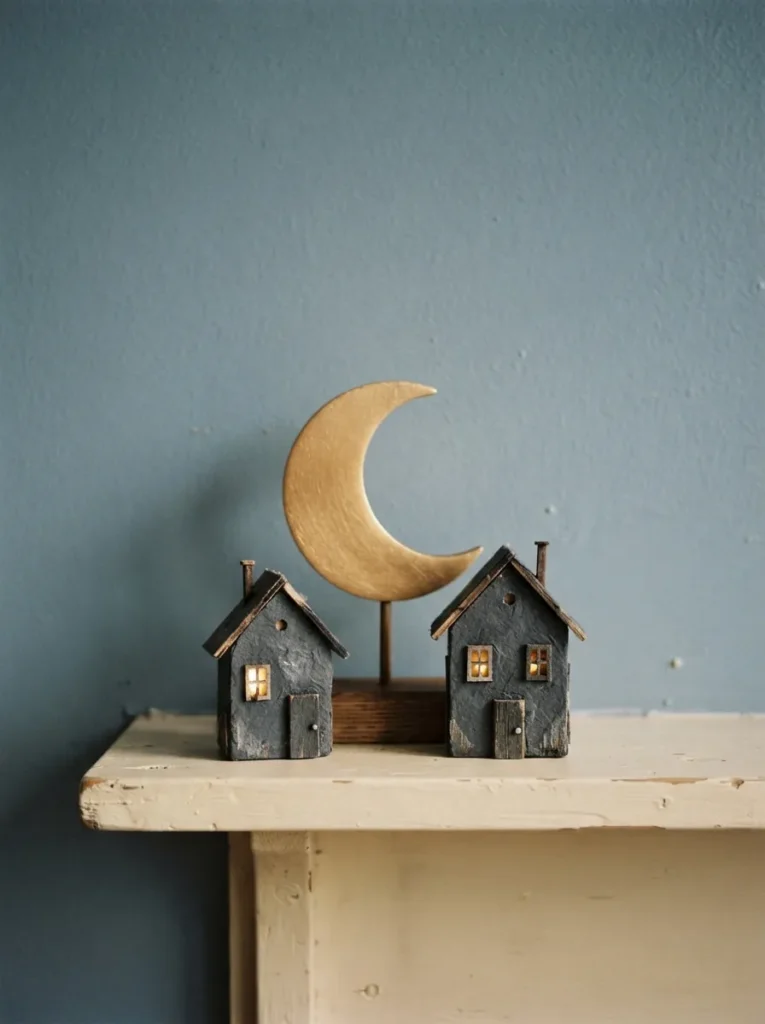
Which moon finish suits your shelf? The choice changes how clearly the crescent appears behind your miniature decorations.
| Detail | Matte Cardstock Moon | Metallic Wooden Moon |
| Visual effect | Soft color with minimal reflection | Subtle shimmer under angled light |
| Support | Requires a small slot stand | Choose a version with an attached base |
| Easy customization | Cut with scissors and layer two sheets | Paint a ready-made wooden shape |
| Best background | A contrasting light or dark wall | A muted wall without shiny accents |
Keep the moon slightly taller than the objects in front, with most of its crescent visible. A four-inch shape works behind houses around two inches high. Offset it toward one side instead of centering every piece, and leave the pointed tips clear so its shape stays easy to recognize.
Mini Broom Bundle
DO
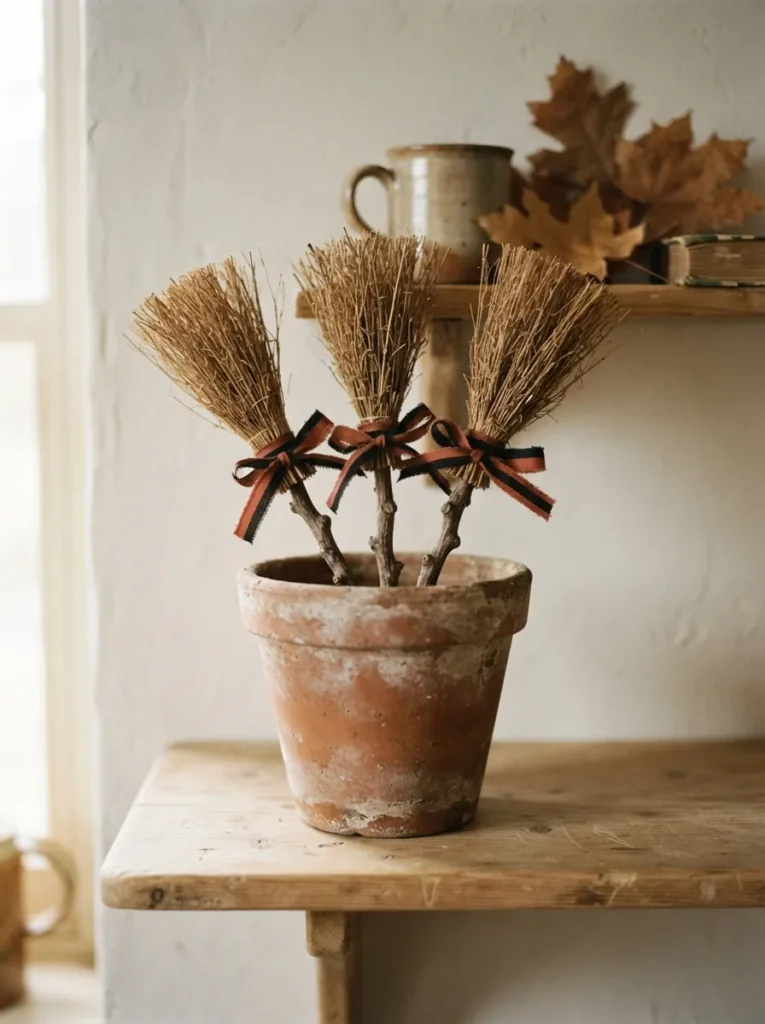
- Bring rustic texture to a smooth shelf with three tiny brooms made from short twigs and trimmed raffia.
- Bind each raffia bundle tightly with cotton thread before covering the join with ribbon.
- Vary the handle heights slightly so all three brooms remain visible.
- Use a broad pot with reusable floral putty inside to hold the handles.
DON’T
- Leave loose raffia trailing over the shelf edge.
- Cut all the bristles unevenly unless you want a deliberately weathered finish.
- Crowd the pot with enough brooms to hide their individual shapes.
- Position dry fibers beside candles or other heat sources.
Display the brooms with their bristles pointing upward, like a tiny collection waiting beside a witch’s doorway. The terracotta base adds warmth without needing another orange ornament. For a cleaner look, use plain black ribbon on every broom and trim the raffia over a tray before arranging it.
Mini Pumpkin Lantern
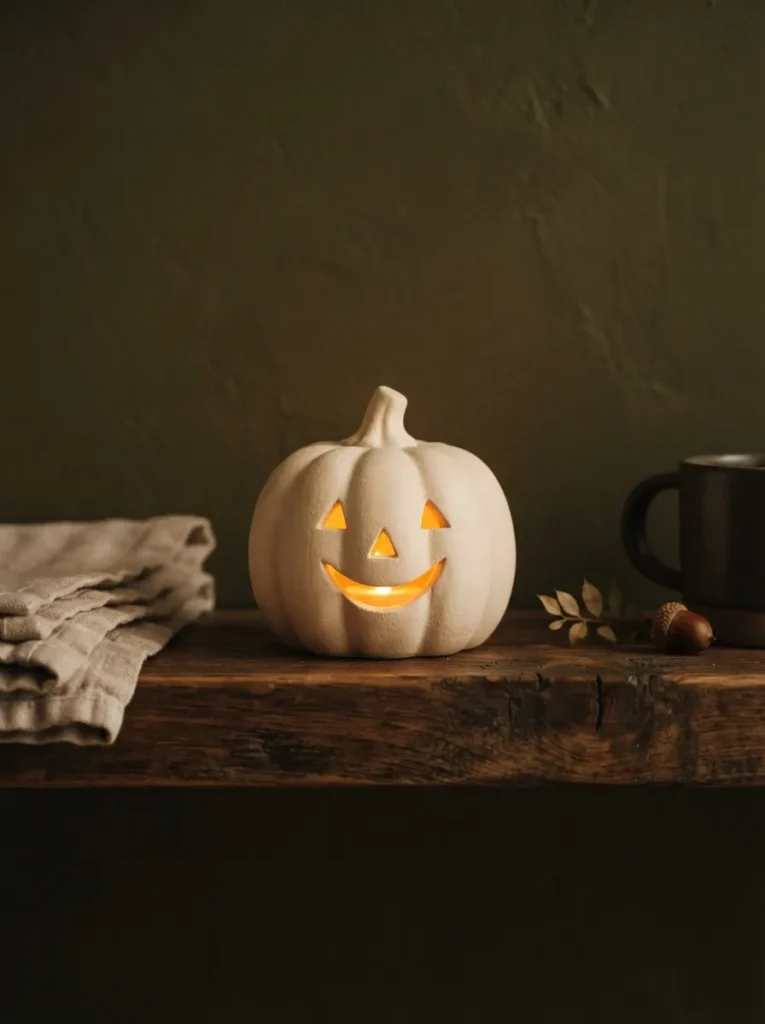
A glowing pumpkin face gives a small shelf display a focal point after sunset.
Light Source: Battery-powered LED designed to fit the lantern.
Size: Around three to four inches wide.
Best For: A darker shelf corner with easy switch access.
Style: Ivory ceramic for soft contrast or orange for traditional color.
Check the opening underneath before buying a light, since miniature lanterns often have limited interior space. Set the pumpkin directly on a stable shelf and angle its face toward the room. Keep neighboring objects low enough that they do not block the cutouts, letting the little expression remain visible.
Mini Raven Perch
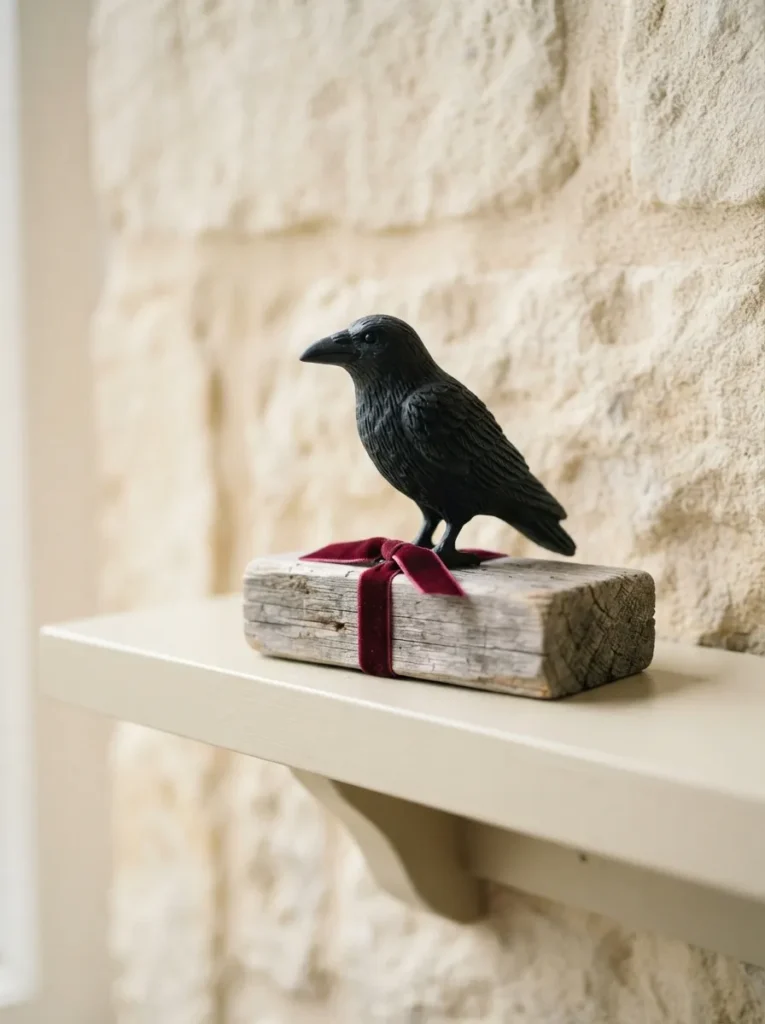
Give a tiny raven enough breathing room, and its pointed beak becomes the detail that catches attention. Select a figurine around two inches tall with a secure attached base. Set it on a low wooden block, keeping the bird’s profile turned slightly toward the center of your shelf.
A pale background helps dark feathers show, while a burgundy ribbon around the block adds a soft contrast to the hard surfaces. Avoid loose feathers underneath, which can obscure the feet and collect dust. For a narrow ledge, choose a raven with folded wings rather than an outstretched pose.
Tiny Tombstone Garden
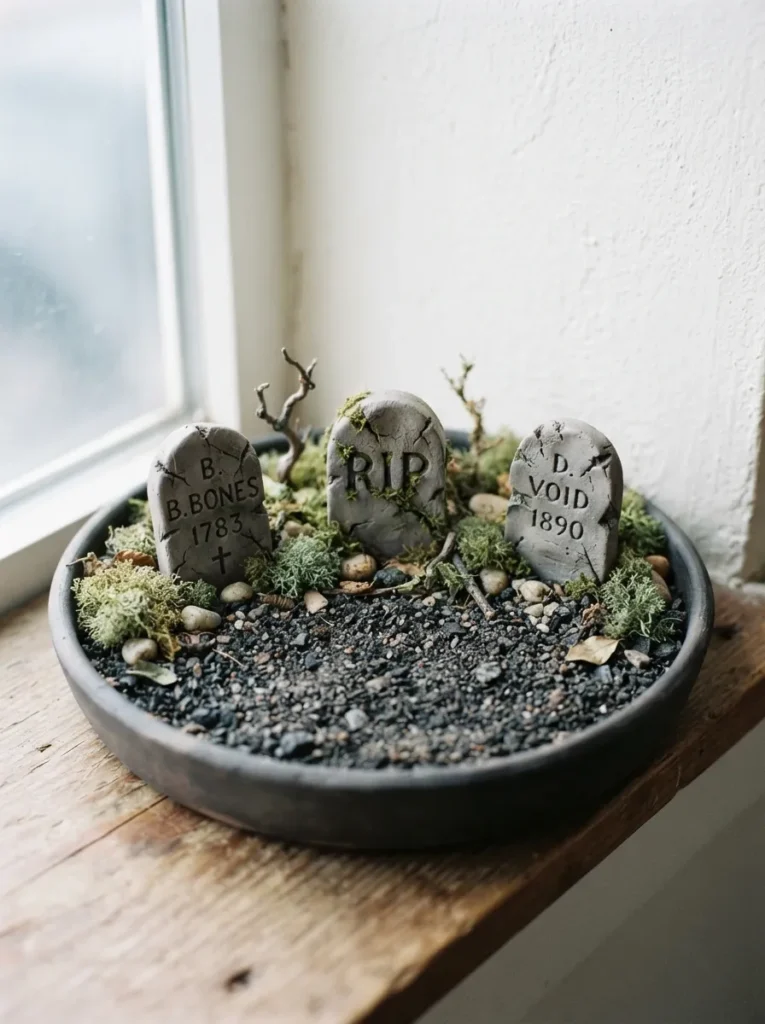
- Create a pocket-sized graveyard with three miniature tombstones arranged inside a shallow dish about five inches wide.
- Choose flat-bottomed markers, or press handmade clay pieces into a firm clay base and let everything dry fully before decorating.
- Scatter a thin layer of fine gravel around the markers, keeping their lower edges visible.
- Add two small patches of model moss near opposite sides of the dish to break up the gray without covering the entire surface.
- Turn the tallest marker slightly and position it behind the others to give the tiny scene depth.
The dish keeps gravel contained and makes the whole arrangement easier to lift for cleaning. Use simple carved lines or cracks instead of tiny lettering that disappears at a distance. Place this miniature graveyard below eye level when possible, where its paths and moss patches can be seen from above.
Mini Mummy Jar

Quick Tip:
Two crooked eyes give a tiny wrapped jar its mummy character. Secure the first gauze strip with a small piece of double-sided tape, then overlap the fabric loosely around a clean, dry jar. Leave a narrow gap for paper eyes and tuck the final strip underneath another layer.
Choose a short jar with a broad base so the finished mummy stays steady. Uneven wrapping adds character, but keep fabric clear of the bottom to prevent wobbling. Display it empty beside a dark object for contrast, with the eyes facing forward rather than disappearing around the curved sides.
Mini Skeleton Seat
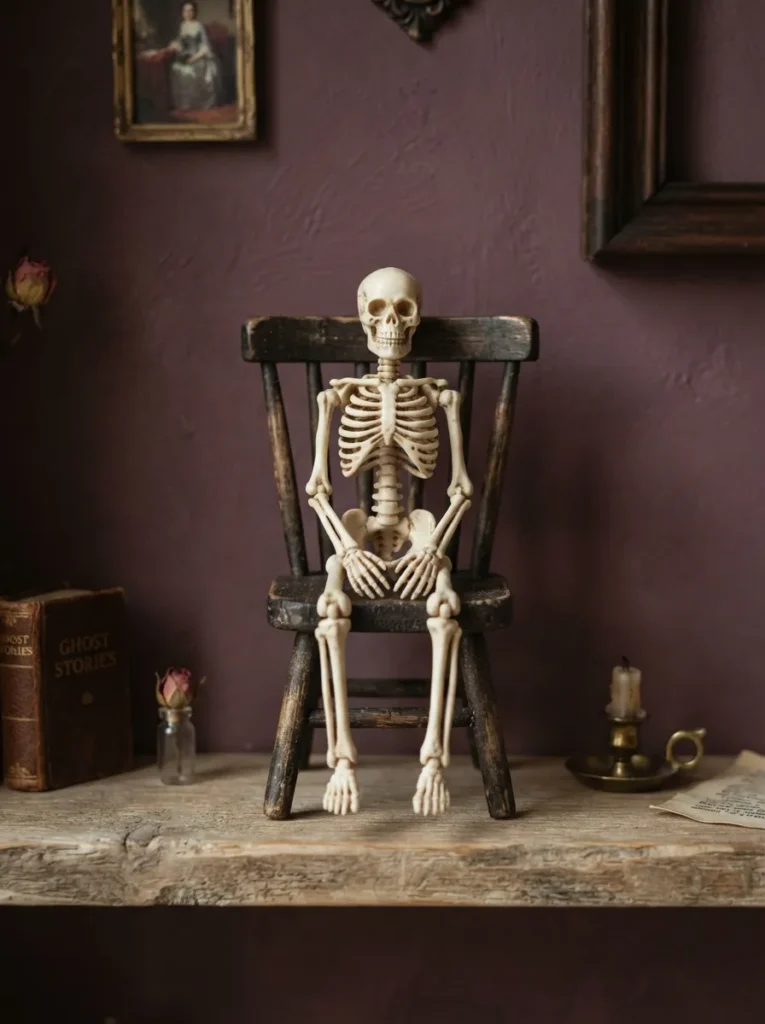
BEFORE: A tiny jointed skeleton lying flat can disappear behind the shelf edge. Its arms and legs may overlap, making the figure difficult to recognize.
AFTER: A miniature chair lifts the skeleton into a seated pose with its face clearly visible. Bent knees and hands resting in its lap create a tidy silhouette within a small footprint.
Match the chair to the skeleton before buying, checking that the hips fit the seat and the feet do not pull it forward. Use a small removable adhesive dot to hold the pelvis in place. Keep the chair fully on the shelf, including its back legs, for a stable display.
Candy Corn Cones

- Shape three small cones from air-dry clay, making each one slightly different in height and flattening the bases so they stand upright.
- Let the clay dry according to its package directions before painting.
- Paint the whole surface white, then add an orange middle band and a yellow base, allowing each color to dry between coats.
- Arrange the finished cones on a plain saucer with small gaps between them so all three color bands remain visible.
Those familiar color bands make the display recognizable without extra Halloween symbols. Keep the tallest cone around two inches high for a miniature scale, and round the tips while shaping the clay. These painted pieces are decorations, so place them away from edible treats to avoid confusion.
Mini Monster Planter
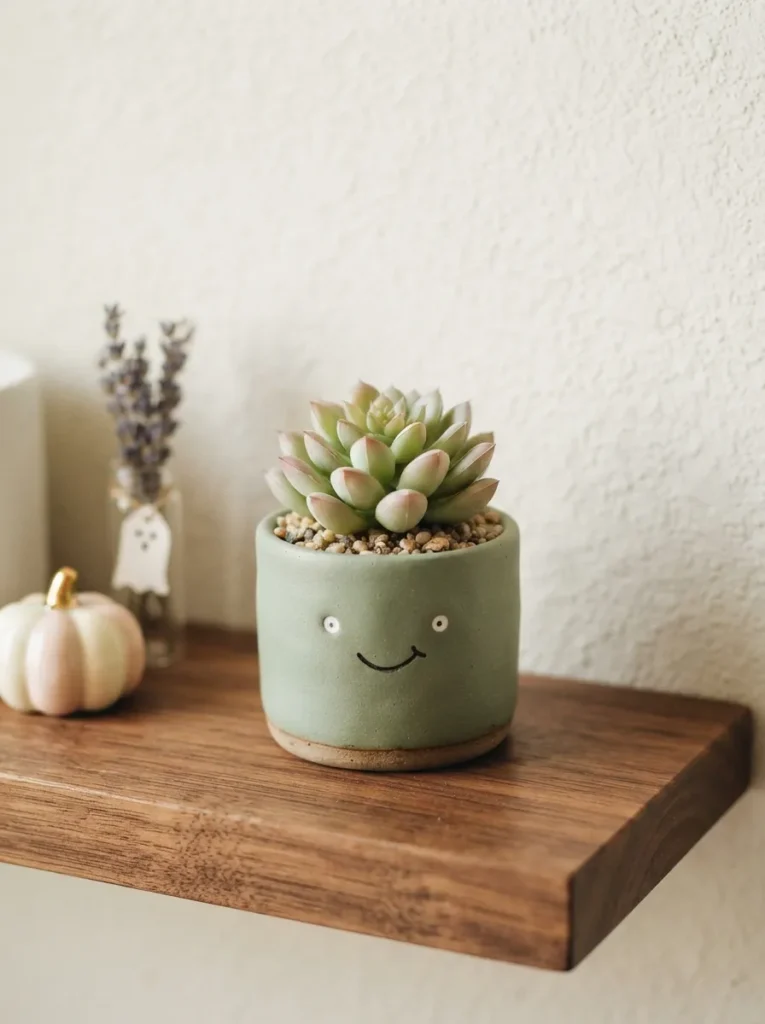
A pair of eyes turns a tiny planter into a shelf monster while leaving its everyday shape useful beyond Halloween.
| Detail | Removable Paper Face | Painted Monster Face |
| Finish | Layered eyes and a simple paper smile | Flat features painted directly onto the pot |
| Seasonal change | Peel off after testing surface-safe adhesive | Keep as a permanent character |
| Best surface | Smooth, sealed planter exterior | Surface compatible with the chosen paint |
| Detail control | Cut larger shapes for easy visibility | Use a fine brush for small expressions |
Choose a pot around three inches wide and keep the face on its upper half, where the shelf edge cannot hide it. A compact faux succulent suits a dim corner. For a living plant, maintain its usual light and drainage needs, and keep decorative paper clear of watering splashes.
Mini Ghost Garland
DO
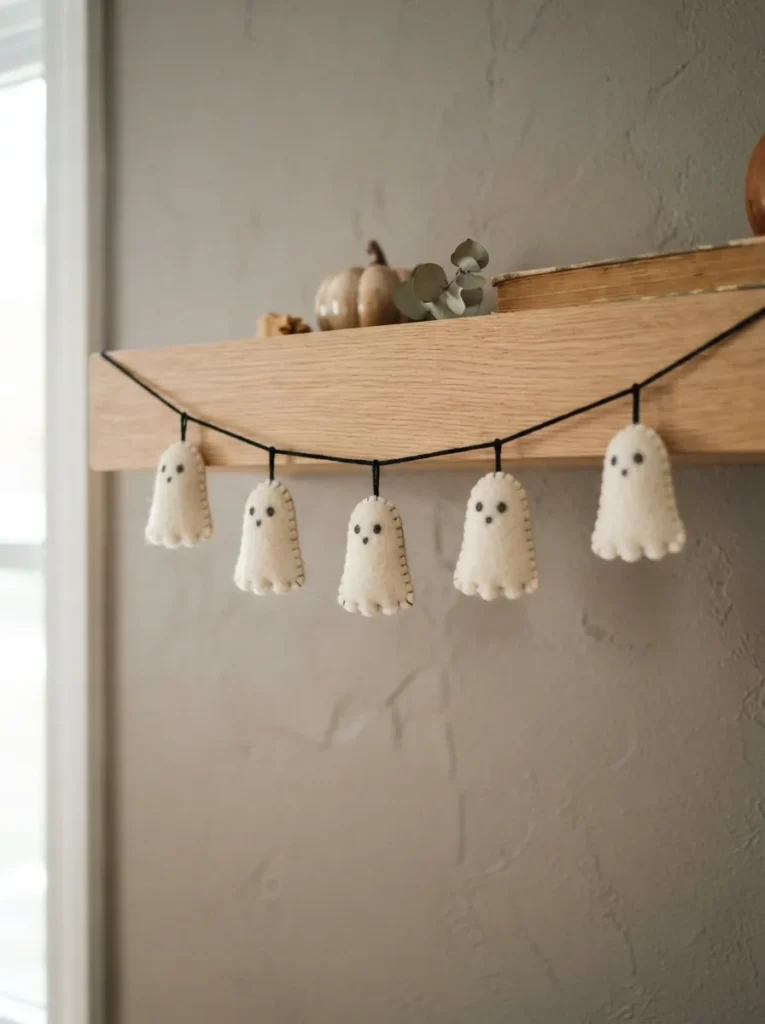
- Give the shelf edge a playful outline with five small felt ghosts spaced along a thin cotton cord.
- Keep each ghost around one to two inches tall so the garland stays delicate.
- Attach both cord ends with removable hooks rated for the surface.
- Test the spacing before securing the ghosts with stitches or small fabric-glue dots.
DON’T
- Let the cord hang across cabinet doors or frequently handled objects.
- Add heavy charms that pull the middle into a deep loop.
- Stretch the cord so tightly that it strains the attachment points.
- Hang trailing loops within reach of small children or pets.
A shallow curve keeps the ghosts visible without covering the shelf below. Measure the shelf first, then leave a little extra cord at each end for adjustments. Repeat the ivory tone in one object above the garland so the hanging detail feels connected to the display rather than separate.
Mini Witch Door

Who might live behind a three-inch door? A miniature witch entrance adds a playful focal point without needing a whole village.
Materials: Wooden craft door, plum paint, small knob, and a flat doorstep.
Skill Level: Beginner painting and assembly.
Best Position: Against the shelf back with clear space in front.
Key Detail: One crescent or star above the knob.
Paint the door before attaching its small details, and let the finish dry fully. Secure it to a freestanding backing or a stable craft base instead of relying on a loose lean. Leave the doorstep mostly bare, with just one tiny leaf to suggest scale without hiding the entrance.
Mini Crystal Ball
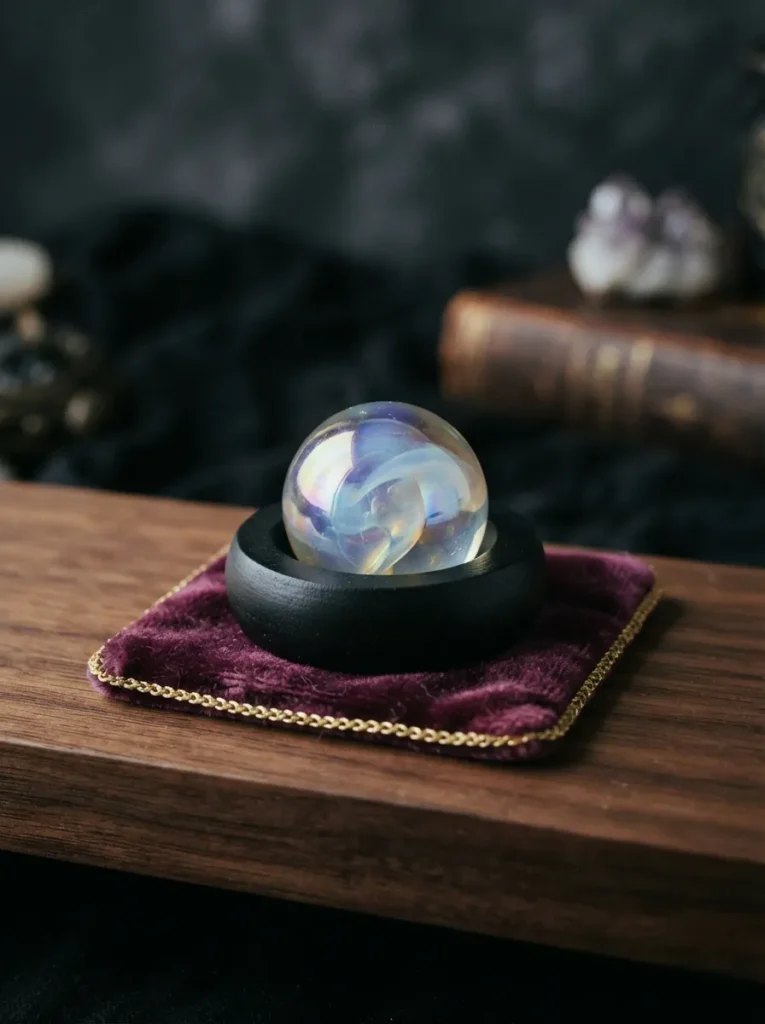
A marble becomes a miniature crystal ball when its stand gives it the right proportions. Choose a large craft marble and a shallow wooden ring with an opening smaller than the sphere. Secure the ring to a flat base so the finished piece cannot roll or tip.
Set a small plum fabric square underneath, trimming its edges inside the base’s footprint to prevent bunching. Keep this Halloween mini decor accent away from direct sunlight, since glass spheres can concentrate light. Against a dark background, its reflective surface needs little else to suggest a tiny fortune-teller’s table.
Mini Eyeball Bowl

- Give a plain little bowl a playful stare with five felt balls decorated as miniature eyeballs.
- Choose a shallow bowl around three inches wide so the eyes remain visible above its rim.
- Cut small colored felt circles for the irises, then attach smaller black circles with fabric glue.
- Arrange the eyeballs with their pupils facing different directions, keeping at least two looking toward the room.
- Fill a deep bowl halfway with scrap felt before placing the decorated balls on top.
The black bowl creates contrast around the pale eyeballs, making their expressions readable without extra accessories. Keep the surrounding shelf simple, especially if nearby pieces already have faces. These loose decorations belong beyond young children’s reach; for a fixed arrangement, attach the felt balls to a removable cardboard insert.
Mini Halloween Wreath
Quick Tip:
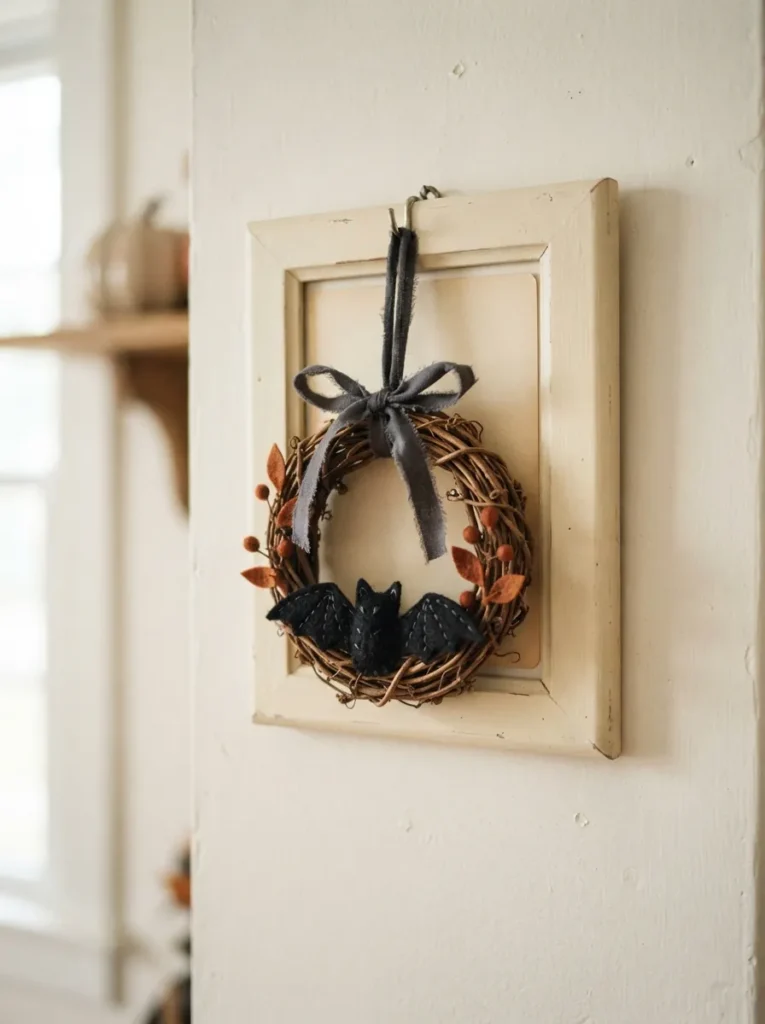
A palm-sized wreath can dress up the back of a shelf without taking much depth. Choose a lightweight grapevine ring around four inches across and decorate only its lower third. Leaving the upper vines exposed keeps the tiny shape clear instead of turning it into a crowded bundle.
Suspend the wreath from the top of a sturdy tabletop frame, securing the ribbon behind it. Remove the glass and use plain cream cardstock as the backing. One small bat supplies the Halloween detail, while rust leaves connect the piece with pumpkins or warm wood elsewhere on your shelf.
Mini Jack-o’-Lantern Crate

BEFORE: Several tiny jack-o’-lanterns scattered along a shelf can look disconnected. Their faces may disappear behind taller decorations or point away from the room.
AFTER: A miniature wooden crate gathers them into one compact pumpkin display. Raising the back pumpkin slightly keeps all three expressions visible within a small footprint.
Choose a shallow crate with sides lower than the pumpkins’ faces. Place a small wooden block beneath the back pumpkin, then position two smaller ones in front. Tuck any fabric lining inside the edges. The crate makes the grouping easy to move when you need to dust the shelf.
CONCLUSION
A magical shelf starts with a few thoughtful details: a clear silhouette, varied heights, and enough empty space to appreciate each piece. These halloween mini decor ideas give you plenty of starting points, whether you prefer soft ivory ghosts, rustic brooms, or dark little haunted houses. Choose one arrangement, work with colors already in your room, and check how it looks from your usual seat. Save this post on Pinterest so your favorite setups are easy to find, and share it with a friend who enjoys seasonal decorating. Pick your first tiny accent and give it a place to shine.