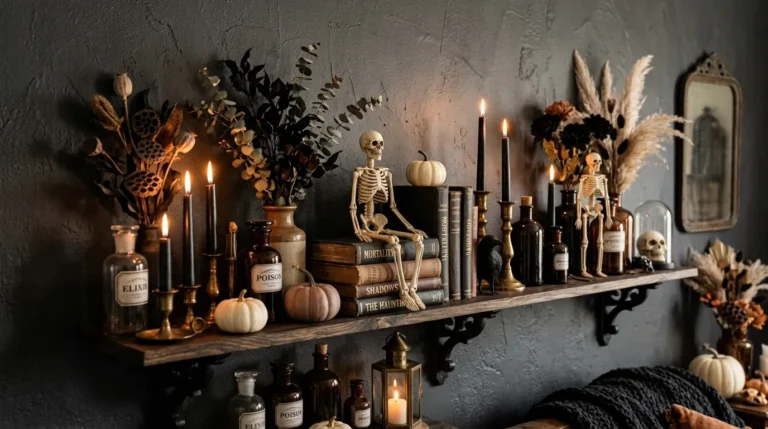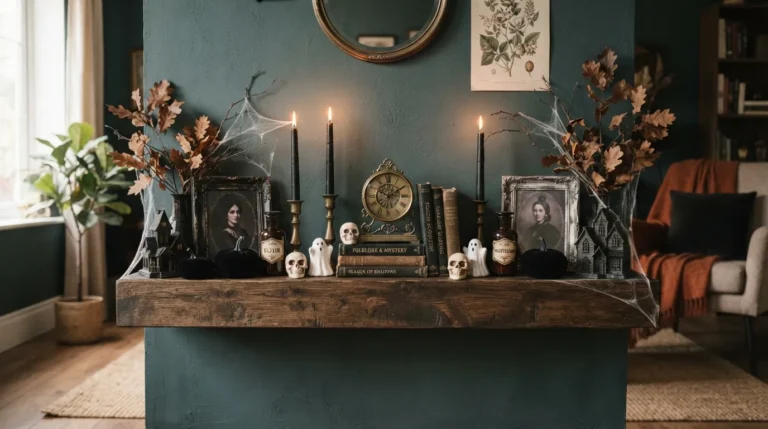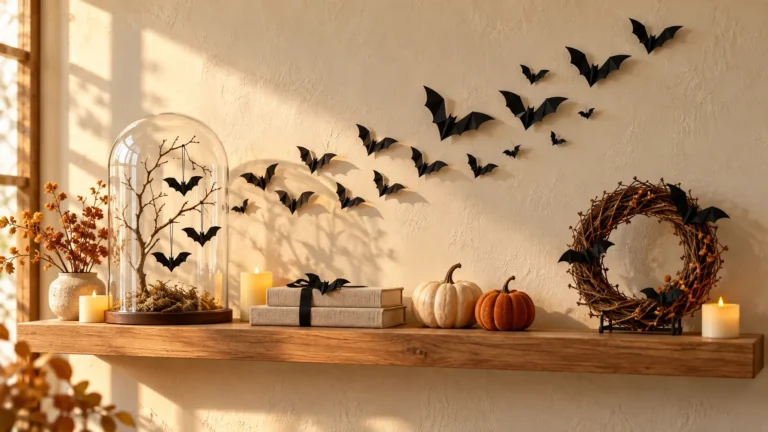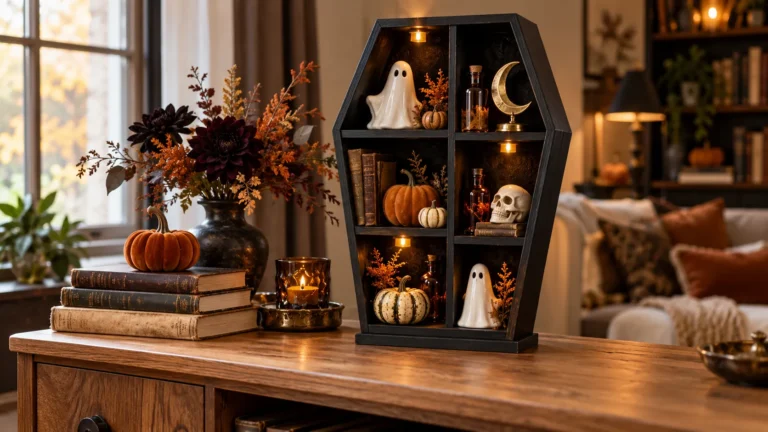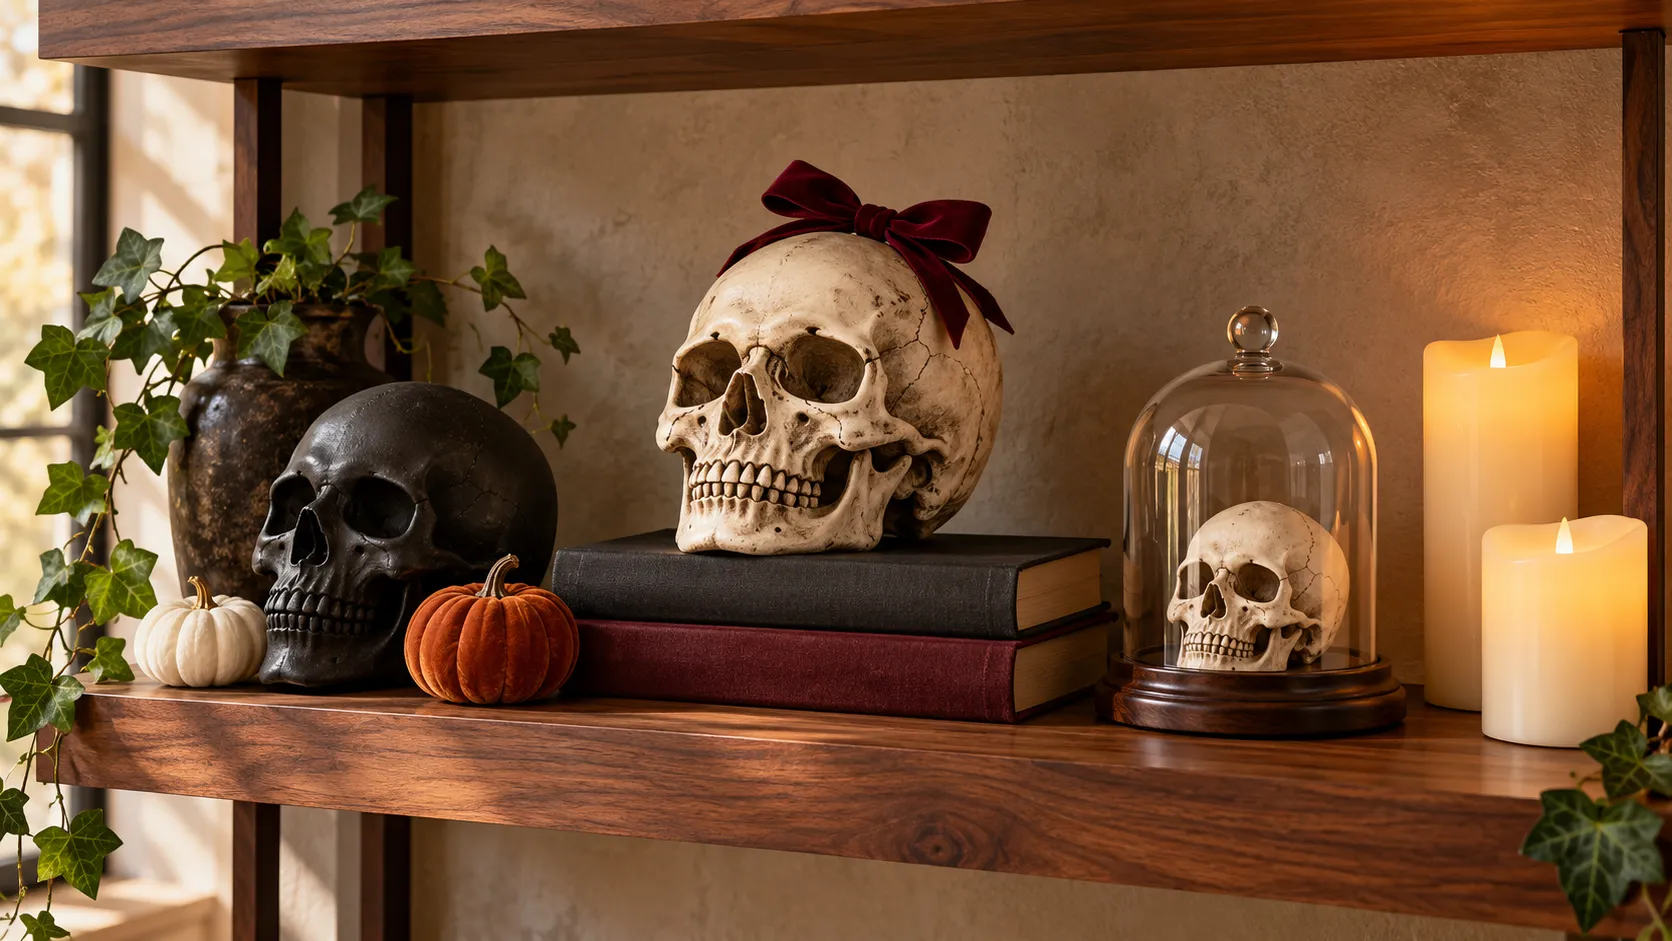
22 Skull Shelf Sitter Ideas for a Wickedly Fun Display
Your Halloween shelf can be playful, polished, and a little wicked without feeling crowded.
A skull shelf sitter gives even a small corner a focal point worth a second look.
The trick is knowing what to place around it. Too many tiny decorations can hide its features, while the right backdrop, texture, or color makes those details stand out. These 22 ideas explore everything from velvet bows and miniature pumpkins to botanical accents and glowing light halos. You’ll find practical guidance on spacing, scale, and stable placement, with options for shelves you already own. Whether you prefer soft pastels or classic gothic colors, start with one combination that suits your home and build from there.
Matte Black Skull

A black skull needs very little company to stand out. Place a matte skull shelf sitter against a cream or pale gray wall so its outline stays visible. Leave roughly a hand’s width of empty shelf on either side to give the shape room to make an impression.
Balance the dark finish with one lighter object, such as an ivory bud vase or a small stoneware bowl. Keep that companion shorter than the skull so the arrangement has a clear focal point. Add felt pads beneath a rough base to help protect a painted or wooden shelf.
Skull Book Stack
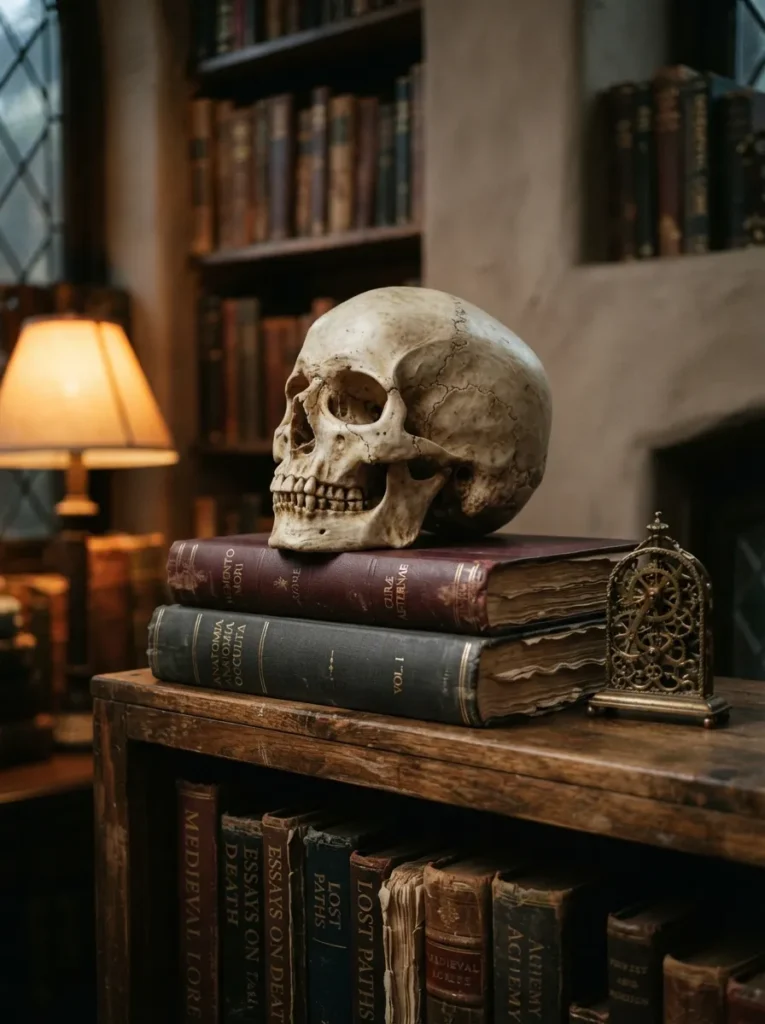
- Give a small skull extra presence with two sturdy hardcover books. Choose books wider than its base so the decoration sits fully supported.
- Place the larger book underneath and keep both covers level. Avoid slippery dust jackets that allow the stack to shift.
- Pair an ivory skull with charcoal, burgundy, or brown covers. Limit the stack to two main colors for a tidy arrangement.
- Position the books several inches back from the shelf edge. Test for wobbling before placing the skull on top.
Book stacks help a short ornament hold its own beside taller shelf accessories. Keep nearby upright books slightly separated from the display so their spines do not crowd the skull’s outline. For everyday practicality, choose volumes you rarely reach for, rather than books you pull out each evening.
Also View : 24 Coffin Shelf Decor Ideas You’ll Adore This Halloween
Trailing Ivy Skull

Quick Tip:
Let the greenery frame the skull, not hide its face. Place a small faux ivy pot behind and to one side, then guide a single trailing stem along the shelf edge. Keep leaves away from the base so the ornament rests flat.
The mix of leafy curves and weathered bone texture gives a plain shelf more depth without needing several ornaments. Choose muted green ivy for a softer look, or darker leaves for stronger contrast. Faux greenery also avoids watering near books, wooden surfaces, and decorative finishes that could mark.
Glass Cloche Skull

BEFORE: A tiny skull disappears among larger decorations on a busy shelf. Scattered trinkets around it make the arrangement feel crowded without giving the eye somewhere to settle.
AFTER: A clear cloche gives the skull a defined display area and a taller silhouette. Removing the surrounding trinkets lets the bone color and sculpted details take center stage.
Measure the skull’s height and width before choosing a cloche, allowing enough clearance to lower the glass without touching it. Select a base that fits completely on your shelf. Position the display away from the edge, and wipe fingerprints from the glass before taking photos of your finished arrangement.
Mini Pumpkin Pairing

- Give your skull a playful autumn partner with one orange mini pumpkin. Choose a pumpkin shorter than the skull so their outlines remain distinct.
- Set the skull slightly behind the pumpkin, keeping its jaw and eye sockets visible. Leave a small gap between the pieces.
- Add a smaller cream pumpkin on the opposite side. Keep the grouping compact enough that it reads as one arrangement.
- Check the view from across the room. Remove nearby accessories if they compete with the three main shapes.
Orange brings warmth to the skull’s pale finish, while the cream pumpkin ties the grouping together. For a narrow shelf, use just one pumpkin instead of squeezing in three objects. If you choose real pumpkins, inspect their undersides regularly and use small protective dishes beneath them to catch moisture.
Metallic Gold Skull
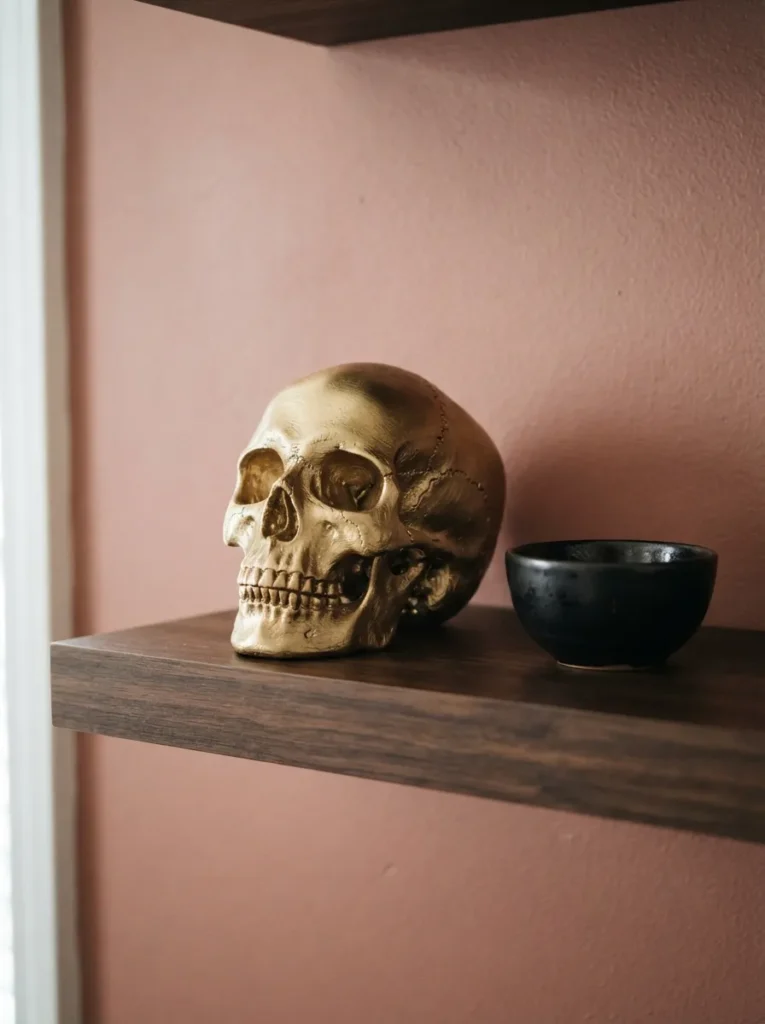
| Styling Detail | Brushed Gold Finish | Polished Gold Finish |
| Visual effect | Soft shimmer with visible texture | Bright reflections with a glossy surface |
| Lighting choice | Diffused daylight or gentle lamplight | Indirect light to reduce distracting glare |
| Companion pieces | Textured pottery and natural wood | Matte ceramics and plain book covers |
| Photo backdrop | Cream, rose, or charcoal | A simple matte wall with few surrounding objects |
Gold gives a skull the presence of a small sculpture, especially against a dark shelf. Repeat the metallic color once in a nearby picture frame or tiny dish to connect the display. Keep other finishes subdued, and check the arrangement under evening lighting before deciding whether it needs another accessory.
Lace Backdrop Skull
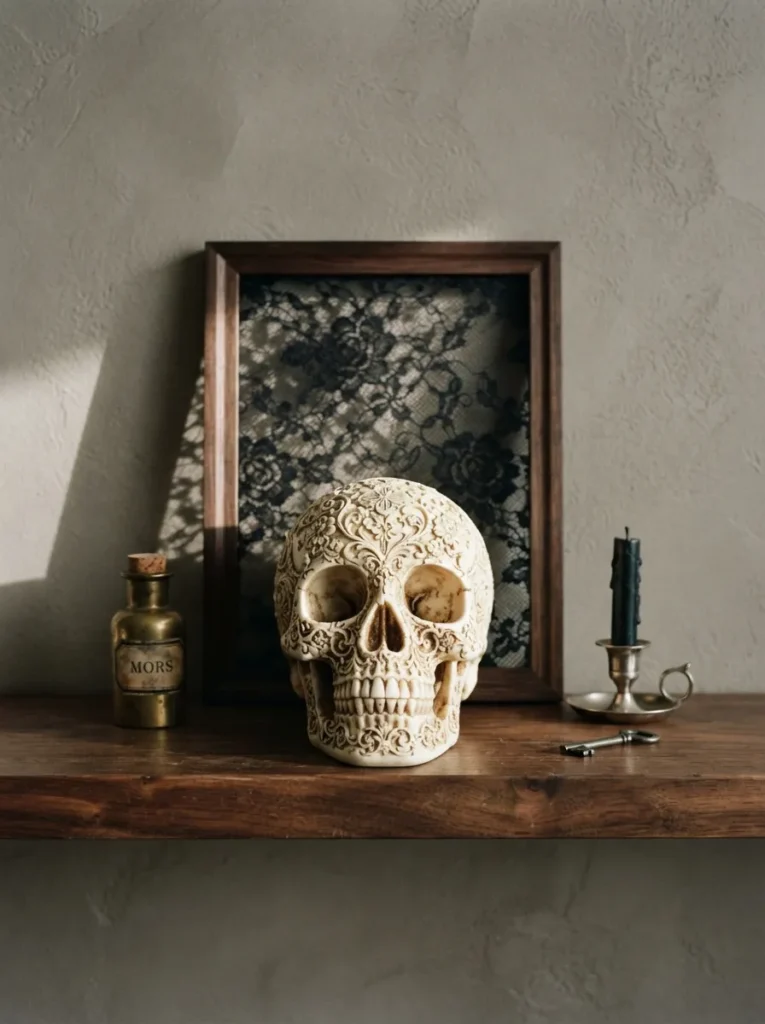
A lace backdrop gives a simple skull intricate detail without covering its sculpted features.
DO
- Stretch black lace inside a small frame to keep the pattern visible.
- Choose a frame slightly taller and wider than the skull.
- Secure the frame upright behind the ornament.
- Leave a small gap between the skull and fabric for visual depth.
DON’T
- Drape loose lace beneath an uneven skull base.
- Choose a dense pattern that disappears against the backing.
- Let fabric hang near candles or other heat sources.
- Crowd the frame with several competing ornaments.
For stronger contrast, place cream paper behind the black lace before securing it in the frame. The pale backing makes the floral pattern easier to see, even on a dark shelf. Keep the skull slightly off center so a generous strip of lace remains visible beside its face.
Pastel Pink Skull
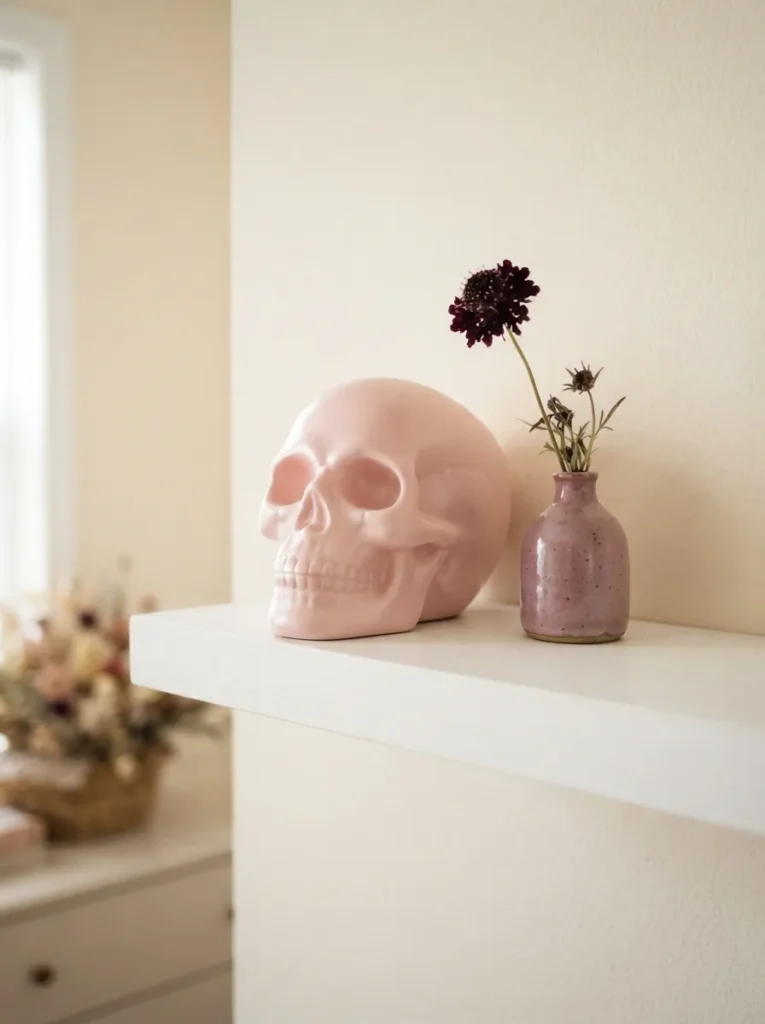
Who says a Halloween shelf needs a dark palette?
Palette: Blush pink, white, and a small burgundy accent.
Finish: Satin for a gentle sheen or matte for a softer appearance.
Best For: Light interiors and playful seasonal displays.
Companion Piece: One small mauve vase with a short dried stem.
Choose a ready finished pink skull, or use paint suitable for your ornament’s material and follow its preparation instructions. Keep the eye sockets clearly defined so the shape still reads from across the room. A single darker flower provides enough contrast without overwhelming the delicate colors around it.
Skull Candle Cluster

Warm candlelight brings out details that disappear under flat overhead lighting. Set an ivory skull beside two flameless pillar candles, choosing one taller and one shorter than the ornament. The staggered heights guide the eye across the shelf while keeping the skull’s face as the main point of interest.
Place the taller candle behind one side of the skull and the shorter candle toward the opposite side, with every base fully supported. Choose warm white LEDs for a gentle glow. Before settling the arrangement, check that each battery compartment remains easy to reach without dismantling the whole display.
Witch Hat Skull
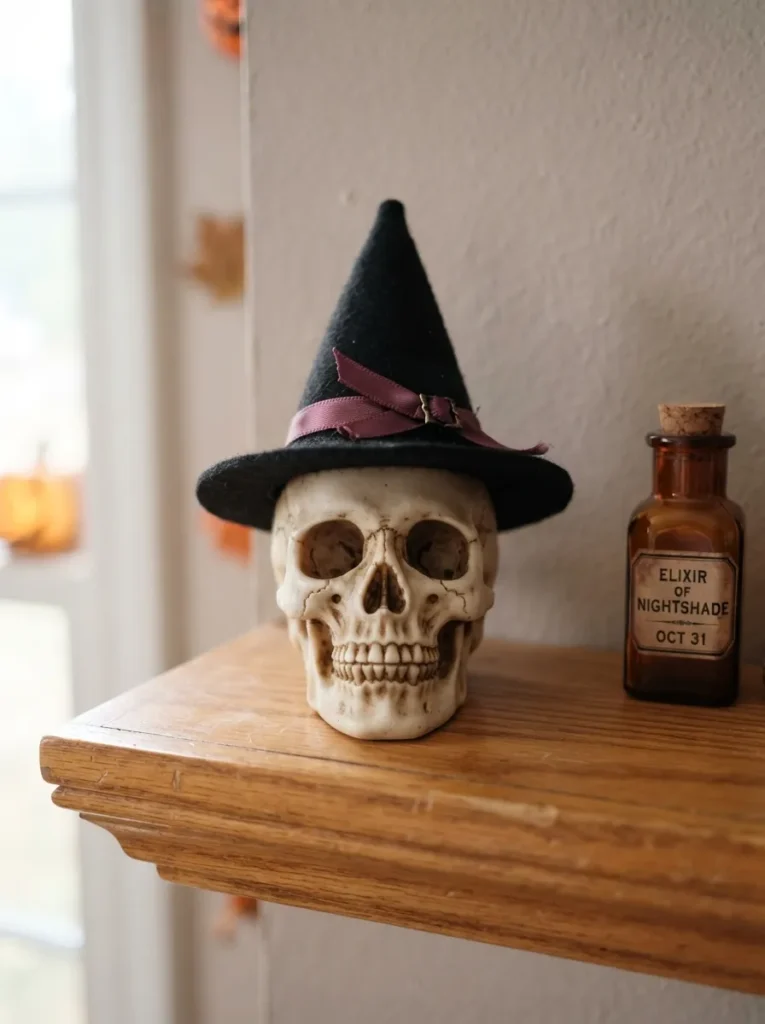
- Give your skull a mischievous silhouette with a miniature witch hat. Choose a narrow brim that leaves both eye sockets visible.
- Test the fit before attaching anything. A lightweight felt hat should rest securely without tipping the ornament forward.
- Wrap a thin plum or rust ribbon around the hatband. Repeat that color in just one nearby accessory.
- Position the skull below eye level if the brim casts too much shadow across its face. Check the view from your usual seat.
Scale matters more than extra decoration here. An oversized hat can hide the skull entirely, especially on a shallow shelf. Cut a paper circle first to test the brim width before buying or making a hat. Keep the surrounding objects low so the pointed crown has room to stand out.
Moss Base Skull
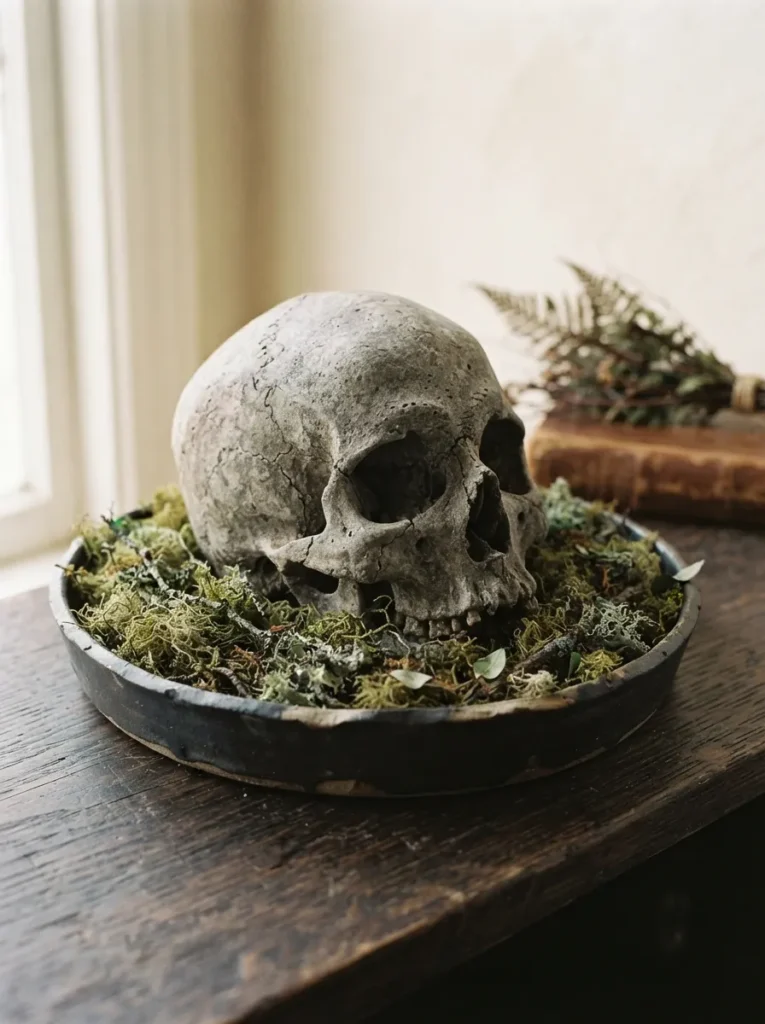
Quick Tip:
Build the woodland effect around the skull’s base, keeping its underside flat on the tray. Tuck small pieces of preserved craft moss along the sides, leaving the jaw exposed. Choose a tray deep enough to contain loose fragments without hiding the ornament.
The tray gives this textured arrangement a clear boundary and makes shelf cleaning easier. Leave one patch of the dark base visible rather than filling every gap with moss. Keep preserved moss dry and follow its care label, since moisture or loose dye may mark nearby porous surfaces.
Skull Mirror Backdrop
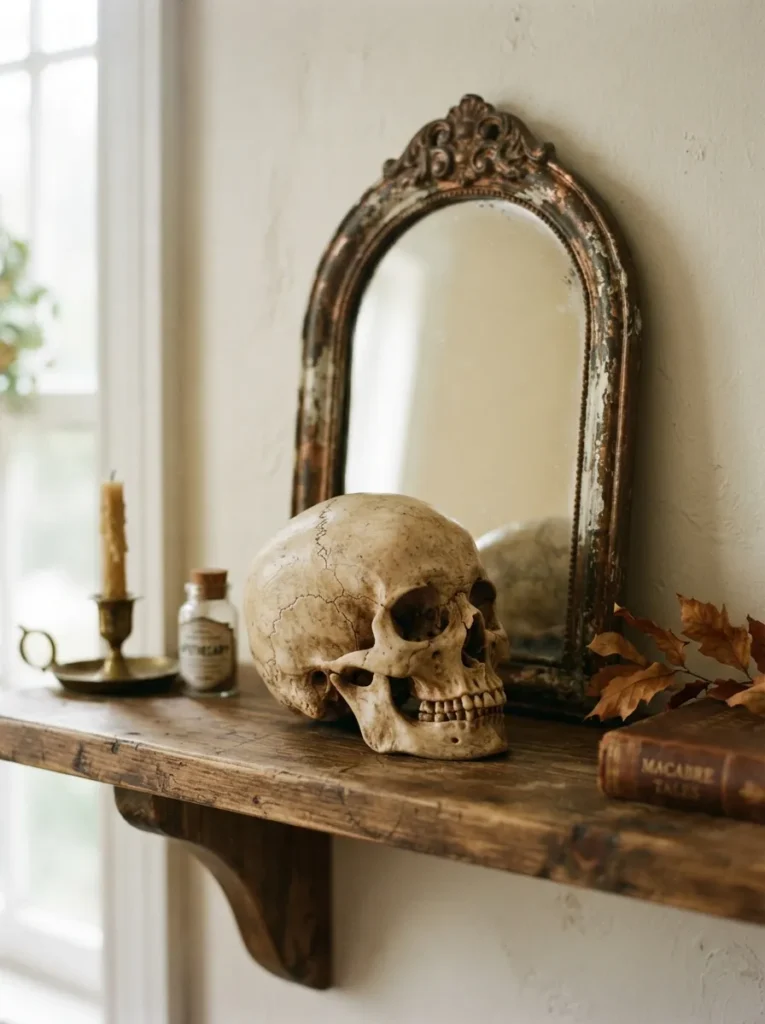
BEFORE: A pale skull blends into a light wall, leaving the display without a clear outline. The empty area above it makes the arrangement look unfinished.
AFTER: A small arched mirror adds a framed background and reflects the skull’s side details. A bronze border defines the grouping, giving the pale ornament more presence against the wall.
Choose a mirror wider than the skull so some reflective surface remains visible on both sides. Secure it according to its mounting instructions instead of balancing it loosely. Check the reflection from the doorway before finishing, since a reflected cable or cluttered countertop can distract from the display.
Pearl Draped Skull
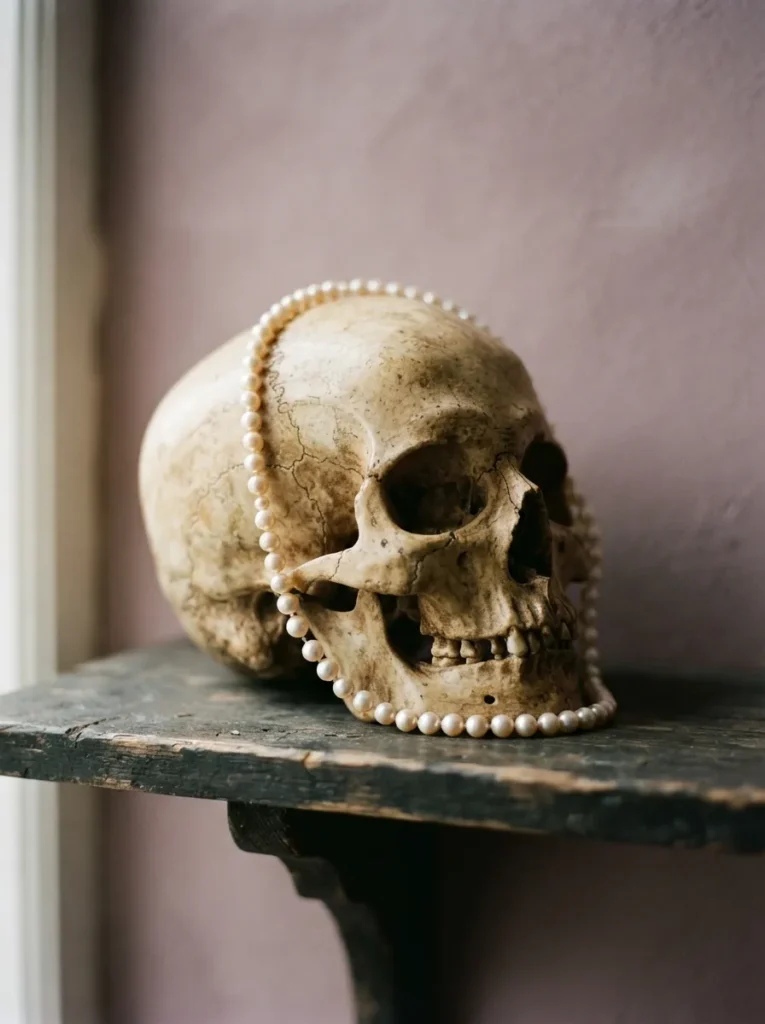
- Pearls give a plain skull a theatrical finishing touch. Choose a short strand of faux pearls with beads small enough to suit the ornament.
- Drape the strand over the crown, letting one side fall beside the cheek. Keep both eye sockets and the teeth visible.
- Gather any excess strand beside the base. Avoid trapping beads underneath the skull, where they could make it wobble.
- Remove nearby shiny accessories so the pearls remain the main decorative detail.
Cream beads blend gently with an ivory finish, while white pearls create sharper contrast against a black skull. Before leaving the arrangement, check that the strand cannot slide over the shelf edge. A shorter necklace usually needs less adjustment than a long garland and keeps the overall shape tidy.
Skull Display Riser
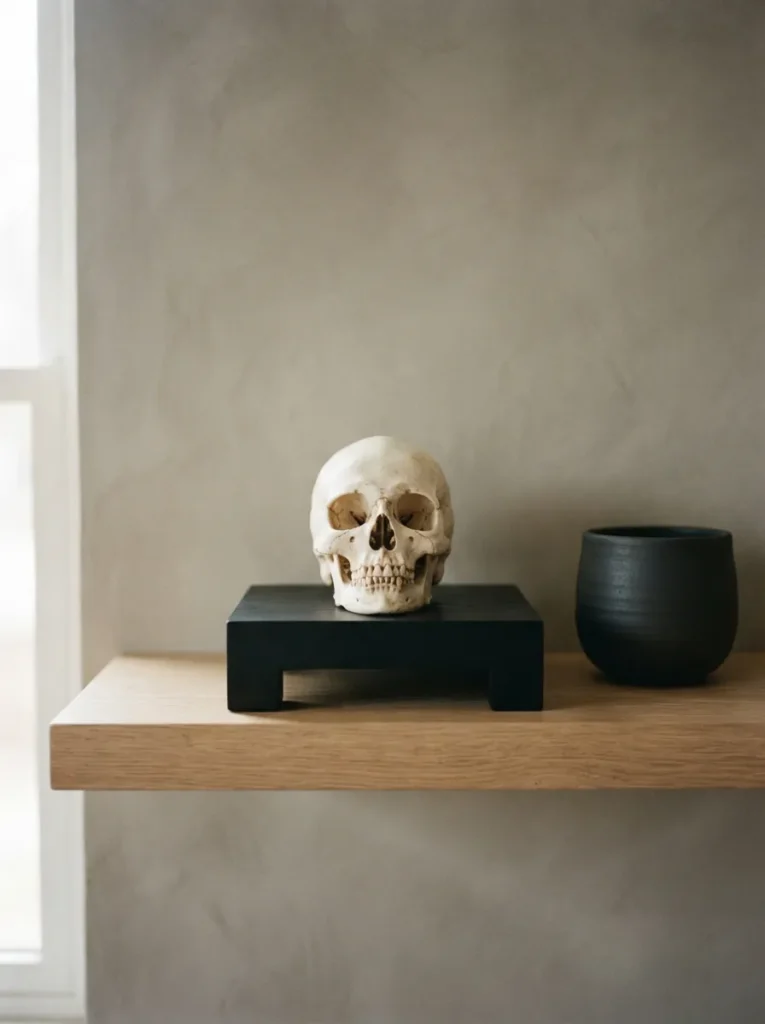
A low riser helps a small skull stand taller beside larger shelf pieces.
| Display Detail | Wooden Block Riser | Acrylic Riser |
| Visual effect | Adds a solid, defined base | Keeps the support visually subtle |
| Color pairing | Black or walnut grounds pale skulls | Clear acrylic suits varied palettes |
| Surface detail | Painted or stained wood adds texture | Smooth transparent surfaces catch reflections |
| Cleaning | Dust according to the finish instructions | Use a soft cloth to avoid scratches |
Measure the skull’s footprint before selecting a platform, leaving a visible border around its base. Keep the riser low enough that the ornament stays comfortably within the shelf opening. Check the combined height against nearby objects, and skip stacked platforms that introduce extra movement beneath a heavy decoration.
Skull Raven Pairing
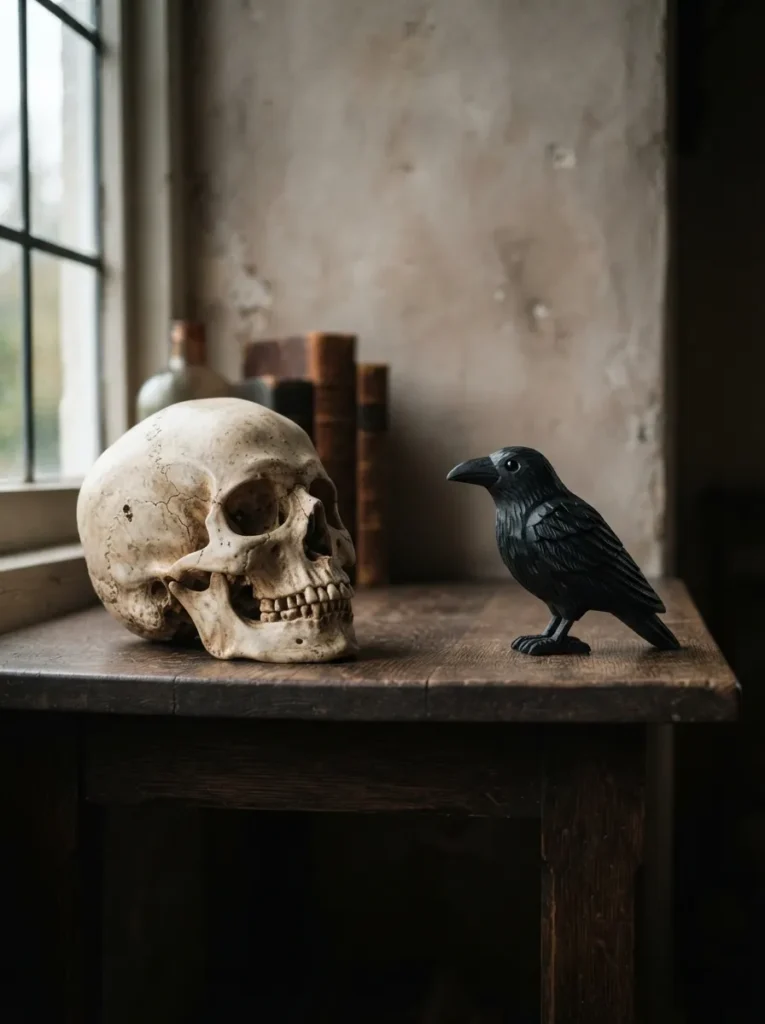
Two distinct silhouettes can carry an entire Halloween shelf arrangement.
DO
- Choose a raven shorter than the skull for a clear difference in height.
- Turn the bird slightly toward the skull to connect the pair visually.
- Leave a narrow gap so the beak and skull outline remain readable.
- Set both pieces on their own stable bases.
DON’T
- Balance a separate raven figurine on the skull’s curved crown.
- Place black feathers against a backdrop so dark they disappear.
- Fill the gap with several tiny seasonal trinkets.
- Let a projecting beak extend beyond the shelf edge.
An ivory skull and black raven create strong contrast without requiring bright seasonal colors. On a dark bookcase, place a pale backing panel behind the pair to keep the bird visible. View the arrangement from the room’s entrance, where overlapping shapes can look less distinct than they do up close.
Dangling Leg Skull

Those dangling striped legs bring movement and humor to a quiet shelf.
Style: A skull ornament with attached fabric or cord legs.
Placement: A stable body set fully on the shelf, with legs hanging freely.
Best For: An open shelf with clear space underneath.
Color Pairing: Ivory, black, and muted terracotta.
Choose a decoration designed with hanging legs, rather than balancing a regular skull at the edge. The body should remain fully supported while only the soft legs extend forward. Avoid positioning it above hooks or frequently handled items, where the dangling pieces could catch during everyday use nearby.
Apothecary Bottle Skull

Amber glass gives a skull display the character of an old potion cabinet. Start with two empty decorative bottles of different heights, placing the taller bottle behind the skull. Keep their shapes simple so the eye sockets and teeth remain the most detailed features in the small grouping.
Leave the shorter bottle beside the cheek rather than directly in front of the face. A narrow shelf usually needs only these three pieces to feel complete. Keep the bottles empty and securely capped, and avoid containers with peeling labels that could shed onto the shelf during routine dusting.
Velvet Bow Skull
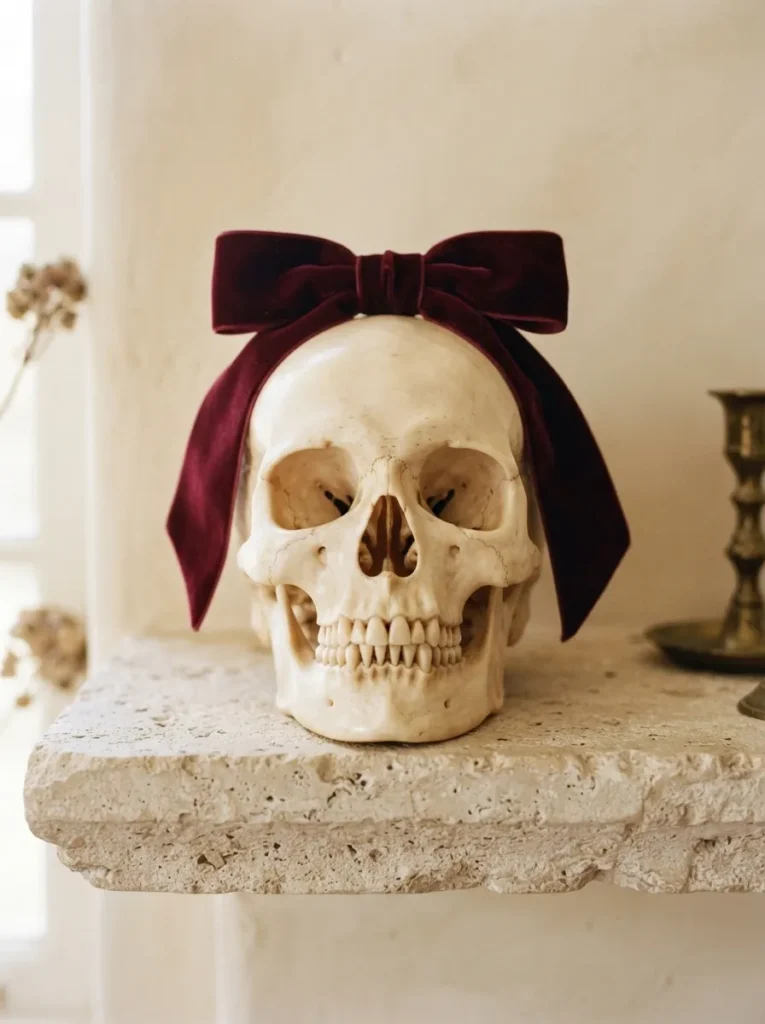
- A burgundy velvet bow softens the skull’s stark shape with rich color and texture. Choose narrow ribbon so the decoration does not overwhelm its face.
- Tie the ribbon around the crown, positioning the bow slightly to one side. Test whether it stays in place before tightening the knot.
- Trim the tails above the jawline. Short ends keep the teeth visible and avoid loose fabric spilling across the shelf.
- Pair the finished ornament with one plain ceramic piece. Skip additional bows nearby so this detail feels deliberate.
Velvet looks richest when gentle side lighting reveals its pile, so check the ribbon near a window before choosing its final position. If the skull’s shape will not hold a tied band securely, use a ready made ornament with an attached bow instead of risking damage with strong adhesive.
Skull Floral Crown
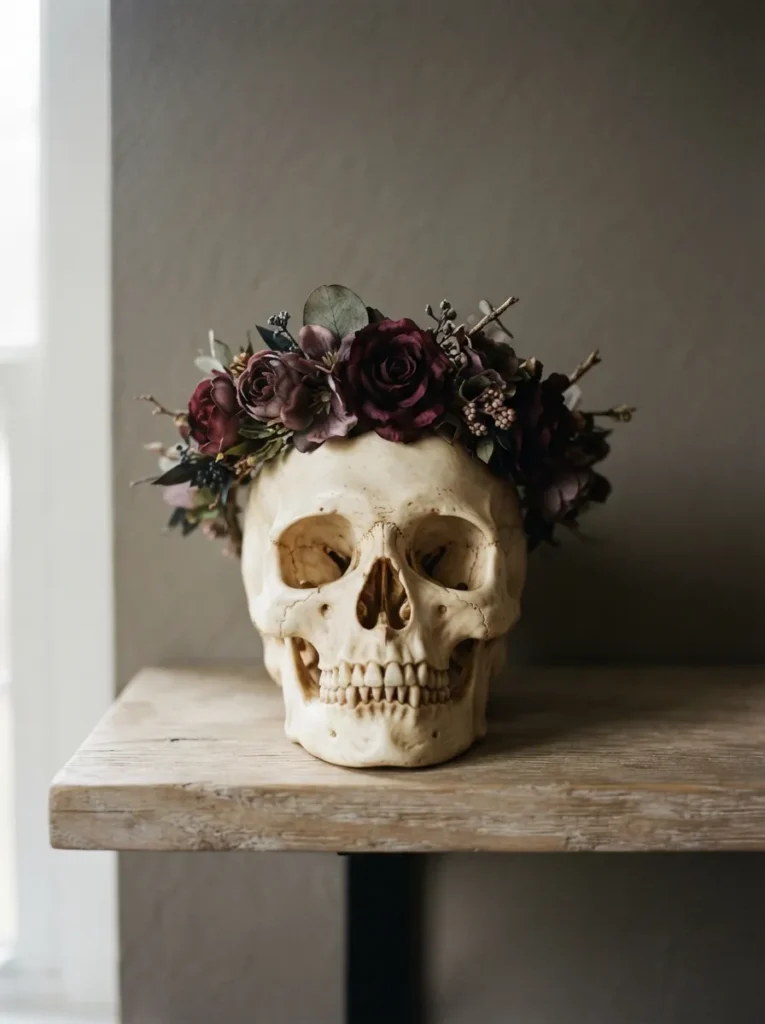
Quick Tip:
Keep the flowers above the brow so the skull’s expression remains the focal point. Build a small crown on a separate craft ring, then check its fit before placing it on the ornament. Use lightweight faux blooms to avoid a top heavy arrangement.
Three small flowers often provide enough fullness for a palm sized skull. Cluster the largest bloom slightly to one side, then fill the remaining space with smaller petals. Avoid adding long stems or trailing ribbons here, since the compact crown should define the design without hiding the face below.
Striped Backdrop Skull
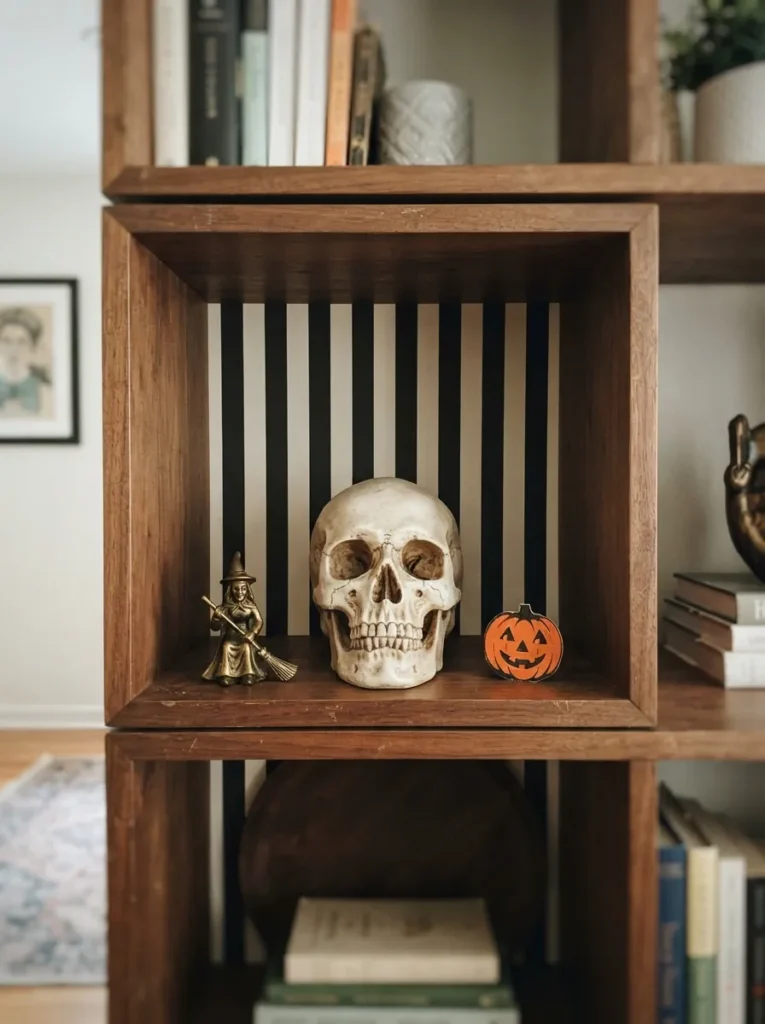
BEFORE: A small skull looks lost inside a wide, empty shelf cubby. Several tiny accessories fill the gaps but leave the display without a clear visual focus.
AFTER: A striped backing panel defines the cubby and gives the pale skull a bold setting. Removing the extra accessories allows the ornament’s rounded shape to contrast with the straight lines.
Wrap a removable piece of sturdy card with striped paper, then fit it against the back of the cubby. Choose broad stripes rather than a tiny pattern that competes with carved details. Leave a little space behind the skull so its outline casts a soft shadow across the panel.
Skull Fairy Light Halo

- Frame the skull with a circle of warm light. Choose a small freestanding decorative hoop with a base that fits fully on your shelf.
- Wrap battery powered LED fairy lights around the hoop according to their instructions. Space the lights evenly for a balanced outline.
- Place the skull in front, leaving a visible gap between its crown and the hoop. Keep the light wire behind the face.
- Tuck the battery pack behind a nearby object while leaving its switch accessible. Check that no wire hangs over the shelf edge.
The circular outline draws attention upward, making this arrangement useful in a taller shelf opening. Choose a hoop only slightly wider than the skull to keep the grouping compact. Test the lights after dark, since an overly bright strand can wash out the facial details instead of highlighting them.
Skull Checkerboard Tray
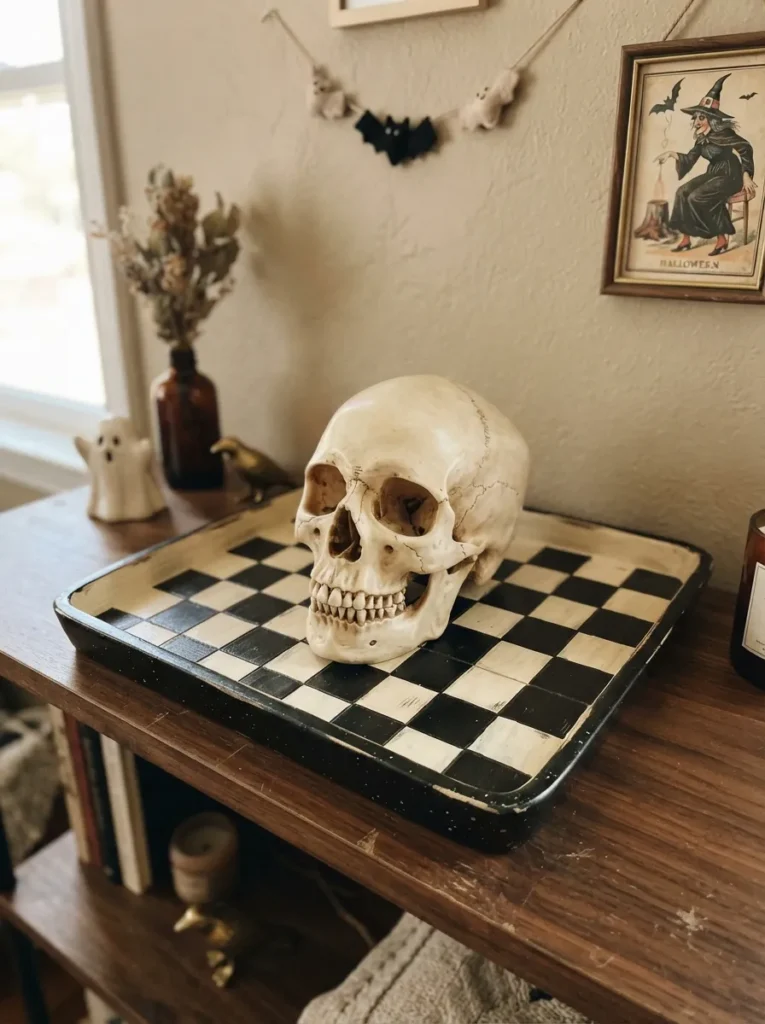
A checkerboard tray gives your skull a bold footprint while keeping the whole arrangement easy to move.
| Styling Detail | Small Checker Pattern | Large Checker Pattern |
| Visual effect | Busy and detailed | Bold and simple |
| Skull pairing | Plain finish with minimal surface texture | Plain or lightly weathered finish |
| Exposed tray area | Leave a narrow patterned border | Leave several complete squares visible |
| Extra accessories | Keep the skull alone | Add one small, solid colored accent |
Choose a tray that fits entirely within the shelf depth, with enough room to grip its sides. Position the skull shelf sitter slightly off center to reveal the checker pattern. A low rim keeps the jaw visible, while the contained base makes it easier to lift the display for dusting.
CONCLUSION
A memorable Halloween shelf starts with a clear focal point and a few thoughtful details. Your skull shelf sitter can look playful beside pumpkins, romantic beneath flowers, or dramatic against a striped backdrop. Choose one idea that fits your shelf, then adjust the spacing and colors using pieces you already have. Leave the face visible and give every object a stable place to rest. Save this post on Pinterest so your favorite combinations are easy to revisit, and share it with someone who loves seasonal decorating. Pick your first pairing and give that little skull a display with personality.